
>>

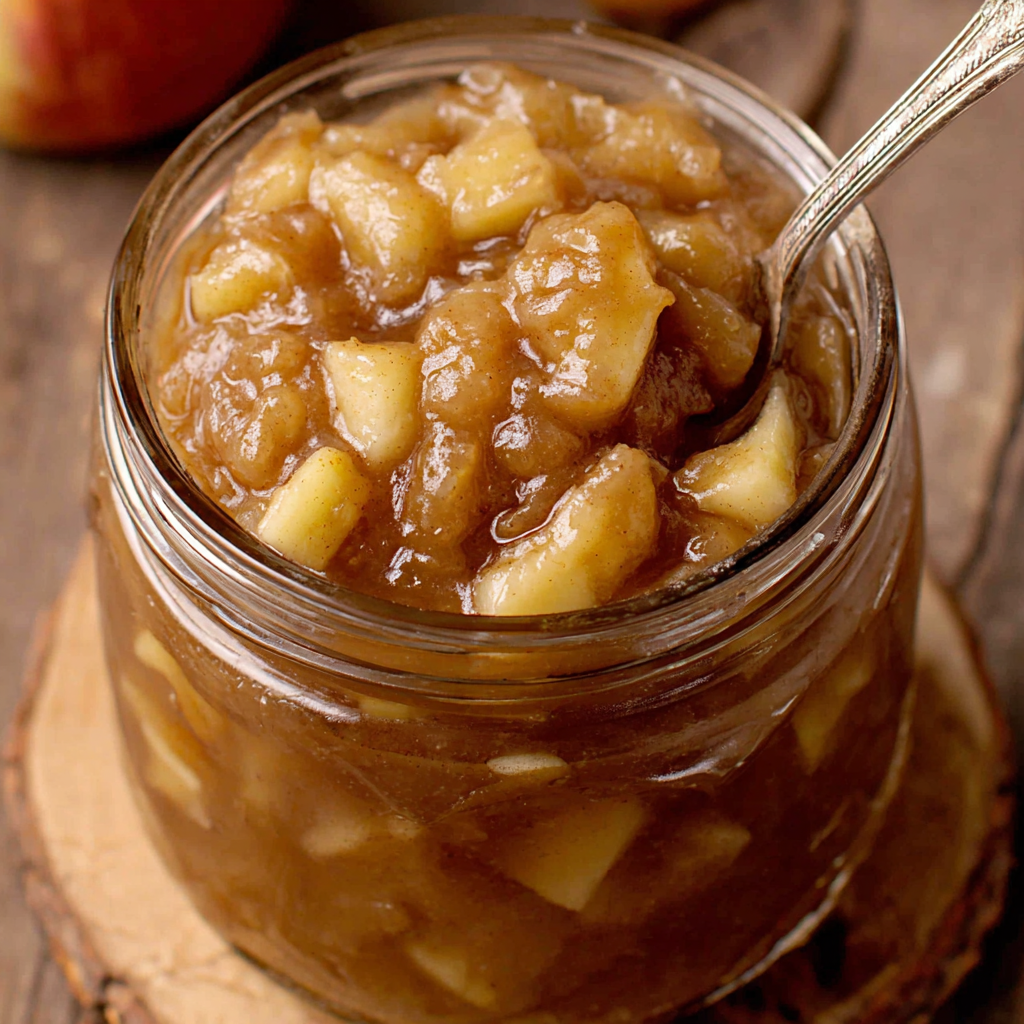
A rich, spiced apple filling that beats any store-bought version — perfect for pies, tarts, or spooned over ice cream. Quick to make and built from pantry staples.
On the day I first served this to my family, everyone was surprised how fresh and vibrant it tasted compared with store-bought fillings. My sister told me it tasted like fall in a bowl, and my kids declared it “best filling ever” after a single bite over warm crust and vanilla ice cream. It’s become my fallback whenever I want a dessert that feels homemade and thoughtful but doesn’t require hours in the kitchen.
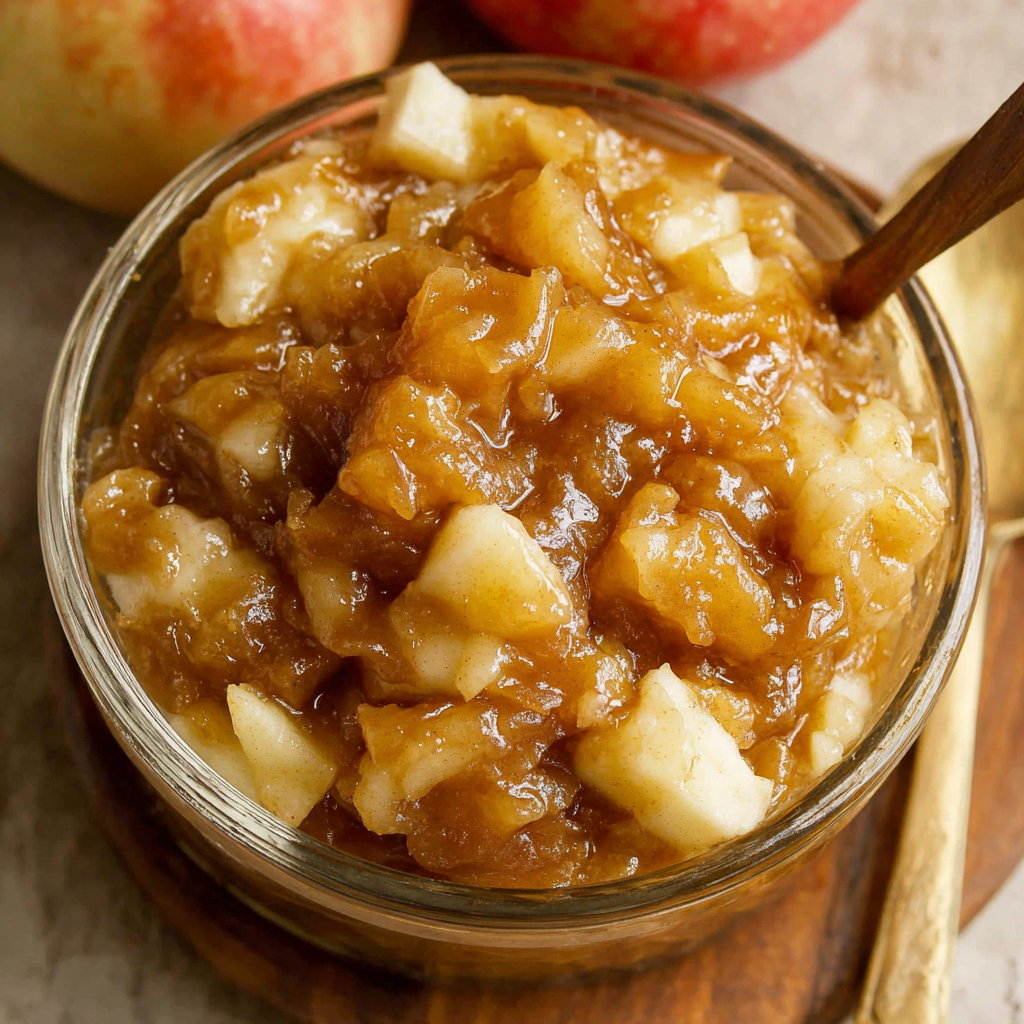
My favorite part of this filling is the texture contrast: a gentle chew from apples that still hold their shape and a silky, glossy sauce that clings to each slice. I once made two batches side by side — one with Granny Smiths and one with a softer apple — and guests overwhelmingly preferred the Granny Smith batch for pie because the slices were more satisfying under the crust. I also appreciate how quickly this comes together, making it perfect for bringing a last-minute dessert to a dinner party without compromising flavor or presentation.
Store cooled filling in airtight glass jars or BPA-free plastic containers. In the refrigerator, keep for up to 5 days; the sauce will continue to thicken as it cools, so give it a gentle stir before using. For longer storage, portion into freezer-safe containers leaving about 1/2 inch headspace and freeze for up to 3 months. Thaw overnight in the refrigerator and reheat gently on the stovetop over low heat, stirring to restore a saucy consistency; if the sauce becomes too thin after freezing and thawing, simmer briefly to reduce, or mix a teaspoon of cornstarch with cold water and stir in, then cook until thickened.
If Granny Smith apples are unavailable, choose firm varieties such as Honeycrisp or Braeburn for a similar texture; expect slightly different sweetness. Swap unsalted butter for coconut oil if you need dairy-free options, noting the flavor will be more coconut-forward. Replace granulated sugar with a 1:1 amount of light brown sugar for a deeper flavor, or use 3/4 cup sugar plus 1 tablespoon maple syrup for complexity. Arrowroot powder can substitute cornstarch at a 1:1 ratio and creates a clearer glaze, but reduce simmering time slightly to avoid over-thickening. If you prefer no refined sugar, experiment with an equal weight of honey or agave but reduce added liquid and watch for faster browning.

Use the filling in a double-crust pie, a lattice-top tart, or spoon it warm over vanilla ice cream for a classic dessert. It pairs beautifully with sharp cheddar when served on a slice of toasted bread or biscuit for a savory-sweet snack. For brunch, warm and fold into pancakes or crepes, or serve over plain yogurt with a sprinkle of toasted oats for texture. Garnish pies with coarse sugar on the crust or a scattering of chopped toasted pecans over the filling after baking for crunch and a nutty contrast.
Apple desserts are deeply rooted in American food traditions, tied to harvest celebrations and home baking. Varieties of cooked apple fillings appear in many regional cuisines across the United States, from New England’s classic double-crust pies to Southern skillet-topped versions. The simplicity of fruit, sugar, and spice is part of the historical appeal—ingredients that were widely available and stored well. This recipe follows that tradition but focuses on preserving texture and brightness rather than long-cooked, fully mashed fruit.
In fall, add a splash of bourbon or a tablespoon of maple syrup for depth; in winter, increase nutmeg and add a pinch of ground cloves for warmth. For spring and summer versions, use firmer, less tart apples and reduce sugar slightly. During holidays, fold in 1/2 cup dried cranberries or currents for color and tartness, or stir in a handful of toasted walnuts for extra richness. Adjust spices to taste based on seasonal pairings and the final use—lighter spice for ice cream toppings, bolder spice for pie.
Make a double batch and freeze in 1-cup portions for quick desserts. Label each container with date and intended use so you can pull one out for a pie or to top a bowl of yogurt. When assembling pies from frozen filling, partially thaw in the refrigerator for easier handling and avoid overfilling the crust. Reheat gently in a saucepan if using warm; if the filling seems thin, bring to a simmer and cook 1–2 minutes to reactivate the cornstarch. Store leftovers in shallow containers to chill quickly and maintain safety.
Whether you’re baking a holiday centerpiece or simply craving a warm spoonful over ice cream, this filling is a dependable, flavorful staple. Try it once and it will likely become one of those recipes you make any time you find a good bushel of apples.
Slice apples uniformly to ensure even cooking and consistent texture in the finished filling.
Mix cornstarch with the dry sugar to prevent lumps and to distribute thickener evenly when added to the hot pan.
Cool filling before refrigerating to avoid temperature shock that can cause condensation and watery storage.
If the filling is too thin after reheating, simmer briefly to reduce or stir in a cornstarch slurry and cook until glossy.
This nourishing perfect homemade apple pie filling recipe is sure to be a staple in your kitchen. Enjoy every moist, high protein slice — it is perfect for breakfast or as a wholesome snack any time.
This Perfect Homemade Apple Pie Filling recipe makes perfectly juicy, tender, and flavorful steak every time! Serve with potatoes and a side salad for an unforgettable dinner in under 30 minutes.
Peel, core, and slice 10 medium Granny Smith apples into even 1/4- to 1/2-inch slices to ensure uniform cooking. Place slices in a large bowl while you prepare the pan.
In a medium saucepan over medium-high heat, combine the sliced apples and 6 tablespoons water. Cook for about 6 minutes, stirring occasionally, until apples begin to soften but still hold shape.
Add 6 tablespoons room-temperature unsalted butter to the pan and stir until melted and distributed, which creates a silky mouthfeel and enhances flavor.
In a separate bowl, whisk together 1 cup granulated sugar, 4 teaspoons ground cinnamon, 3 tablespoons cornstarch, and 1/4 teaspoon nutmeg until evenly blended to prevent lumps.
Add the sugar-spice mixture to the saucepan and stir constantly over medium heat for about 2 minutes until the sauce bubbles and thickens to a glossy consistency that coats the apples.
Remove from heat and allow the filling to cool for about 5 minutes so it sets slightly. Use warm in recipes or cool completely and refrigerate for up to 5 days, or freeze for up to 3 months.
Last Step: Please leave a rating and comment letting us know how you liked this recipe! This helps our business to thrive and continue providing free, high-quality recipes for you.
Leave a comment & rating below or tag
@yummique on social media!

Tender grilled zucchini wraps basil ricotta, bathed in marinara and mozzarella, baking into a bubbly, lighter Italian comfort dinner ready in 30 minutes.

Crisp-edged, tender-in-the-middle zucchini and yellow squash made in 15 minutes with pantry spices. A vibrant, veggie-forward side everyone devours.

Tender chicken meatballs simmered in rich marinara and blanketed with melty mozzarella, bringing all the flavors of chicken parm in cozy, bite-sized form.
Leave a comment & rating below or tag @yummique on social media!
Enjoyed this recipe? Share it with friends and family, and don't forget to leave a review!
This recipe looks amazing! Can't wait to try it.
Comments are stored locally in your browser. Server comments are displayed alongside your local comments.

Join to receive our email series which contains a round-up of some of our quick and easy family favorite recipes.
