
>>

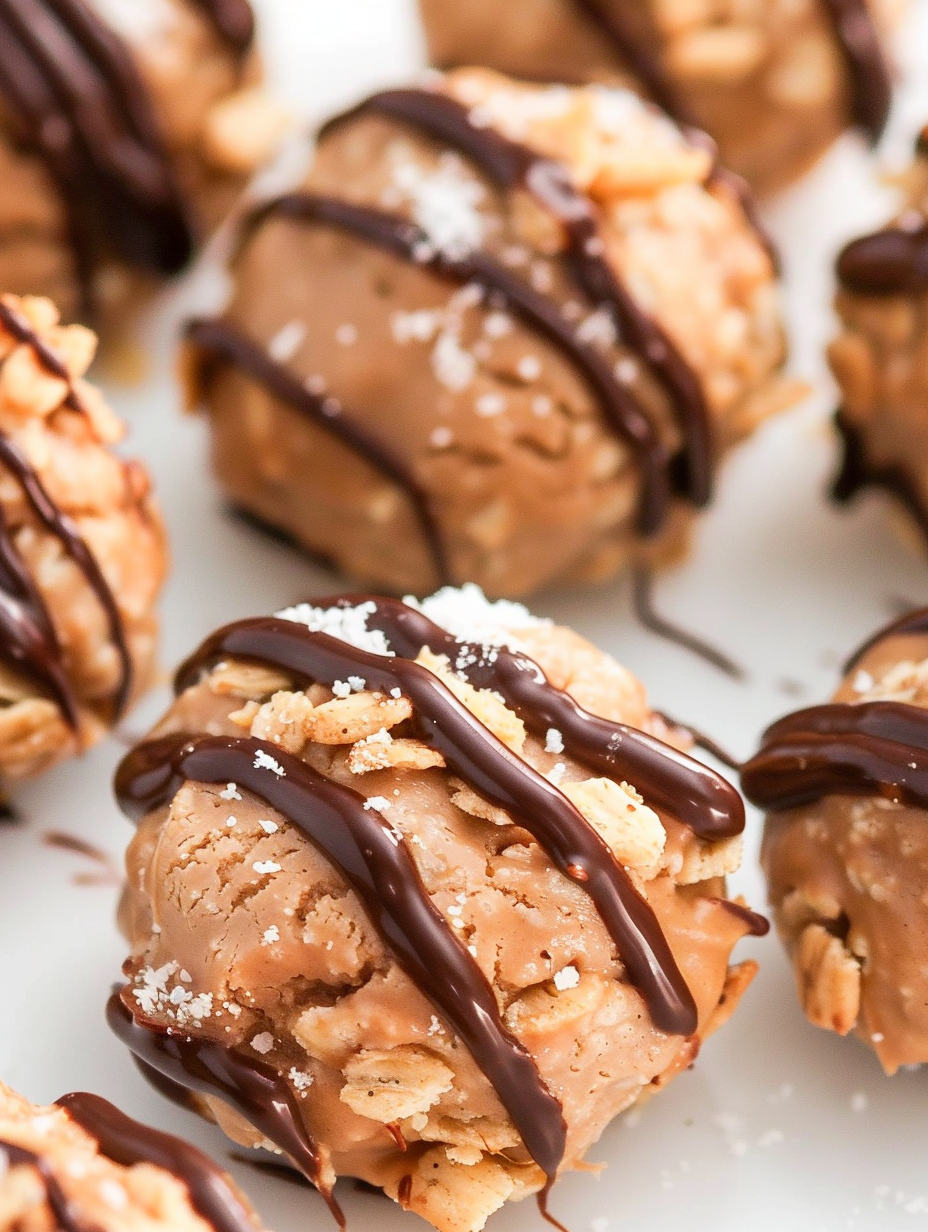
Six-ingredient, no-bake cookie bites inspired by Muddy Buddies—ready in under five minutes and packing about 6 grams of protein per bite.
This recipe for No Bake Muddy Buddy Protein Cookies landed in my kitchen on a chaotic afternoon when a sweet tooth met a desire for something a little healthier. I was craving the familiar powdered-sugar-coated crunch of Muddy Buddies but wanted a portable snack that would satisfy after a workout. The result is a small, dense cookie bite that hits the same nostalgic notes—chocolate, powdered sugar, crisp cereal—while sneaking in protein from vanilla whey. It’s one of those stove-free shortcuts that turned into a family favorite almost overnight.
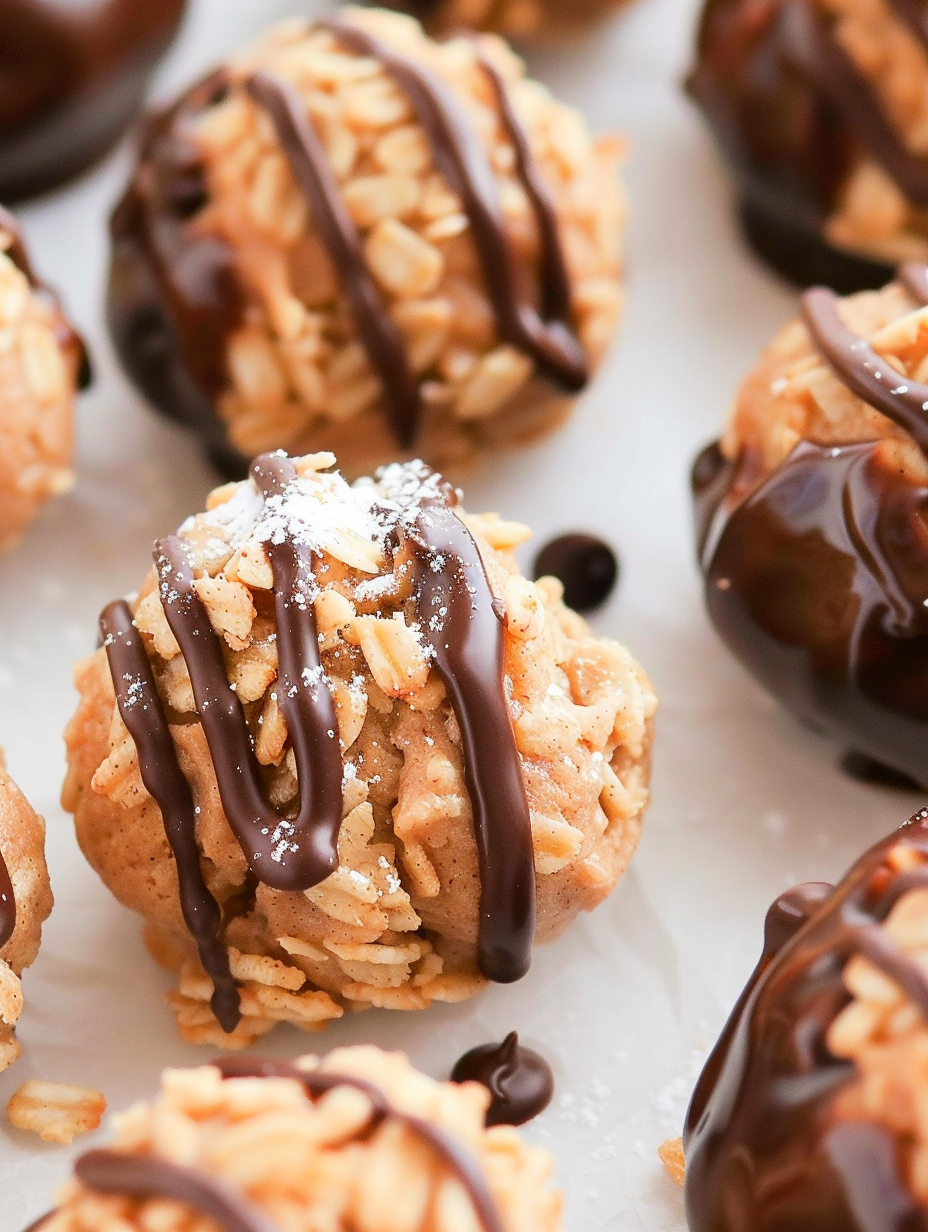
I first tested these when I needed snacks for a weekend hiking trip; they packed perfectly and didn’t get sticky in my backpack. Each cookie has a slightly crunchy center from broken Rice Chex, a chewy binder of peanut butter and honey, and a thin chocolate drizzle on top that sets quickly. They’re sweet but not cloying, portable, and incredibly forgiving: if the mixture is a touch dry, a splash of milk or another teaspoon of honey brings it together. The powdered sugar finish is optional but it gives that classic Muddy Buddy appearance and a pleasant melt-in-the-mouth dusting.
In my household these bites became a hit because they bridge two worlds: nostalgic snack-chip flavor and sensible nutrition. On the first try, my partner grabbed two before a run and came back asking if there were more; the powdered sugar makes them feel indulgent, but the protein powder keeps them surprisingly satisfying.
My favorite part is how quickly they come together with no special equipment—just a bowl and a microwave. The first time I made them, I brought a batch to a book club and they disappeared within an hour; people loved that they felt indulgent without being heavy. The powdered sugar finish always gets compliments, and the easiest tweak—swap in nut-free butter—makes them inclusive for classroom snacks.
For short-term storage, place the bites in a single layer in an airtight container and refrigerate for up to 7 days. If stacking is necessary, separate layers with parchment paper to prevent sticking. For longer storage, arrange in a freezer-safe container or zip-top bag with parchment between layers and freeze up to 3 months. When ready to eat, pull them from the freezer and let sit at room temperature for 10 to 15 minutes, or microwave a single cookie for 8–10 seconds to soften the center. Quality indicators: when the peanut butter oil separates noticeably or the chocolate blooms (white streaks), they’re still safe but textural quality is reduced.
If you need to avoid peanuts, substitute sunflower seed butter one-to-one; the flavor is slightly greener but the texture and binding are excellent. For a vegan version, use a plant-based vanilla protein powder and swap honey for maple syrup—since maple is thinner, reduce any added liquid elsewhere and consider a tablespoon of oat flour if the mixture becomes too wet. If you want fewer carbs, replace Rice Chex with puffed quinoa or crushed low-carb cereal, but expect a denser, slightly drier bite—add an extra teaspoon of honey or peanut butter to compensate. Dark chocolate chips or dairy-free chips are simple swaps that change sweetness and mouthfeel subtly.
These cookie bites are terrific with a tall glass of cold milk or a cup of black coffee for contrast. For an afternoon snack box, pair 2–3 bites with fresh fruit and a handful of raw almonds. They also make a playful dessert when plated with a drizzle of extra melted chocolate and a few crushed cereal crumbs for texture. For parties, arrange them on a platter with small paper liners and label them for guests with common allergens. Seasonal twists: add a sprinkle of cinnamon in fall or a pinch of flaky sea salt in summer to highlight flavor layers.
The inspiration comes from a beloved American snack known as Muddy Buddies (or Puppy Chow), which originated as a party treat decades ago—cubed cereal coated in peanut butter, chocolate, and powdered sugar. This version compresses those elements into a protein-fortified, no-bake bite, reflecting a modern trend toward high-protein snacks that still nod to comfort-food nostalgia. The original Muddy Buddies are often made in large batches and are synonymous with game-day snacking and holiday candy exchanges; these smaller bites translate that convivial spirit into single-serving convenience.
In colder months, swap the vanilla protein powder for a cinnamon or pumpkin-spice flavored powder and add a pinch of ground nutmeg—serve slightly warmed from the fridge for a cozy feel. In summer, use dark chocolate and a light dusting of freeze-dried raspberry powder instead of powdered sugar for a refreshing twist. Holiday variations include stirring in a tablespoon of crushed peppermint into the melted chocolate drizzle or adding a teaspoon of orange zest to the binder for a bright, festive note.
Portion the mixture into tablespoon scoops and place on a parchment-lined baking sheet; freeze for 15 minutes and then transfer frozen bites to a zip-top bag for grab-and-go snacks. This method prevents sticking and lets you take out small quantities as needed. Label containers with the date and intended use (post-workout snack or lunchbox treat). If making multiple batches, double the binder ingredients and fold in cereal gradually—mixing in smaller increments ensures even coating and consistent texture.
These no-bake Muddy Buddy protein bites are the kind of recipe I keep bookmarked because they rescue busy days and satisfy cravings with minimal fuss. Make them your own, share them, and enjoy how a few simple pantry items can turn into something both nostalgic and nourishing.
If the mixture is too dry, add 1/4 teaspoon warm water at a time until scoopable; if too wet, add a tablespoon more cereal or a teaspoon of powdered protein.
Chill the formed bites for 10 minutes to set the drizzle and improve handling before packing.
Lightly oil your hands or wet them slightly to prevent sticking when rolling the bites.
Use a tablespoon cookie scoop for consistent sizing and faster assembly.
This nourishing no bake muddy buddy protein cookies recipe is sure to be a staple in your kitchen. Enjoy every moist, high protein slice — it is perfect for breakfast or as a wholesome snack any time.
Store covered in the refrigerator for up to 7 days or freeze up to 3 months. Thaw at room temperature for 10–15 minutes before eating.
Yes—replace honey with maple syrup and use a plant-based vanilla protein powder, plus dairy-free chocolate chips.
Use sunflower seed butter one-to-one to make them peanut-free and safe for nut-free classrooms.
This No Bake Muddy Buddy Protein Cookies recipe makes perfectly juicy, tender, and flavorful steak every time! Serve with potatoes and a side salad for an unforgettable dinner in under 30 minutes.
In a medium bowl, mix peanut butter, vanilla protein powder, honey, and vanilla extract until smooth; add a tiny splash of warm water if needed to reach a spreadable consistency.
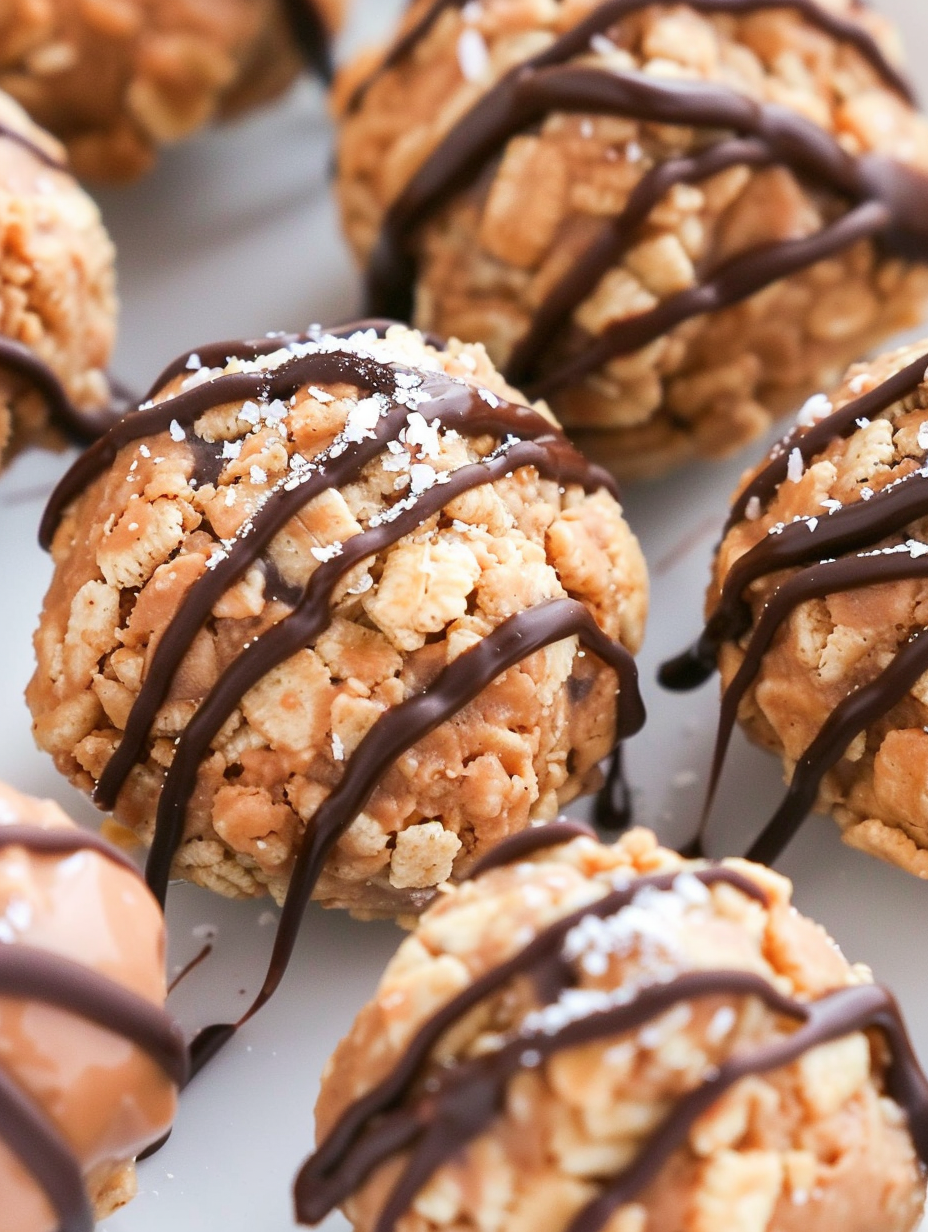
Stir in Rice Chex and press with the back of a spoon to break most pieces into smaller bits so the texture becomes dense and scoopable.
Using a tablespoon scoop, portion the mixture and roll between your hands to form compact balls; use lightly oiled hands to prevent sticking.
Microwave chocolate chips in 45-second then 30-second intervals, stirring until smooth; transfer to a small bag and snip the corner for drizzling.
Drizzle chocolate over each cookie ball and dust with powdered sugar if desired; chill for 10 minutes to set or eat immediately.
Last Step: Please leave a rating and comment letting us know how you liked this recipe! This helps our business to thrive and continue providing free, high-quality recipes for you.
Leave a comment & rating below or tag
@yummique on social media!

Tender grilled zucchini wraps basil ricotta, bathed in marinara and mozzarella, baking into a bubbly, lighter Italian comfort dinner ready in 30 minutes.

Crisp-edged, tender-in-the-middle zucchini and yellow squash made in 15 minutes with pantry spices. A vibrant, veggie-forward side everyone devours.

Tender chicken meatballs simmered in rich marinara and blanketed with melty mozzarella, bringing all the flavors of chicken parm in cozy, bite-sized form.
Leave a comment & rating below or tag @yummique on social media!
Enjoyed this recipe? Share it with friends and family, and don't forget to leave a review!
This recipe looks amazing! Can't wait to try it.
Comments are stored locally in your browser. Server comments are displayed alongside your local comments.

Join to receive our email series which contains a round-up of some of our quick and easy family favorite recipes.
