
>>

A nostalgic, egg-free chocolate cake baked over a glossy bed of cherry pie filling — simple, retro, and utterly delicious.
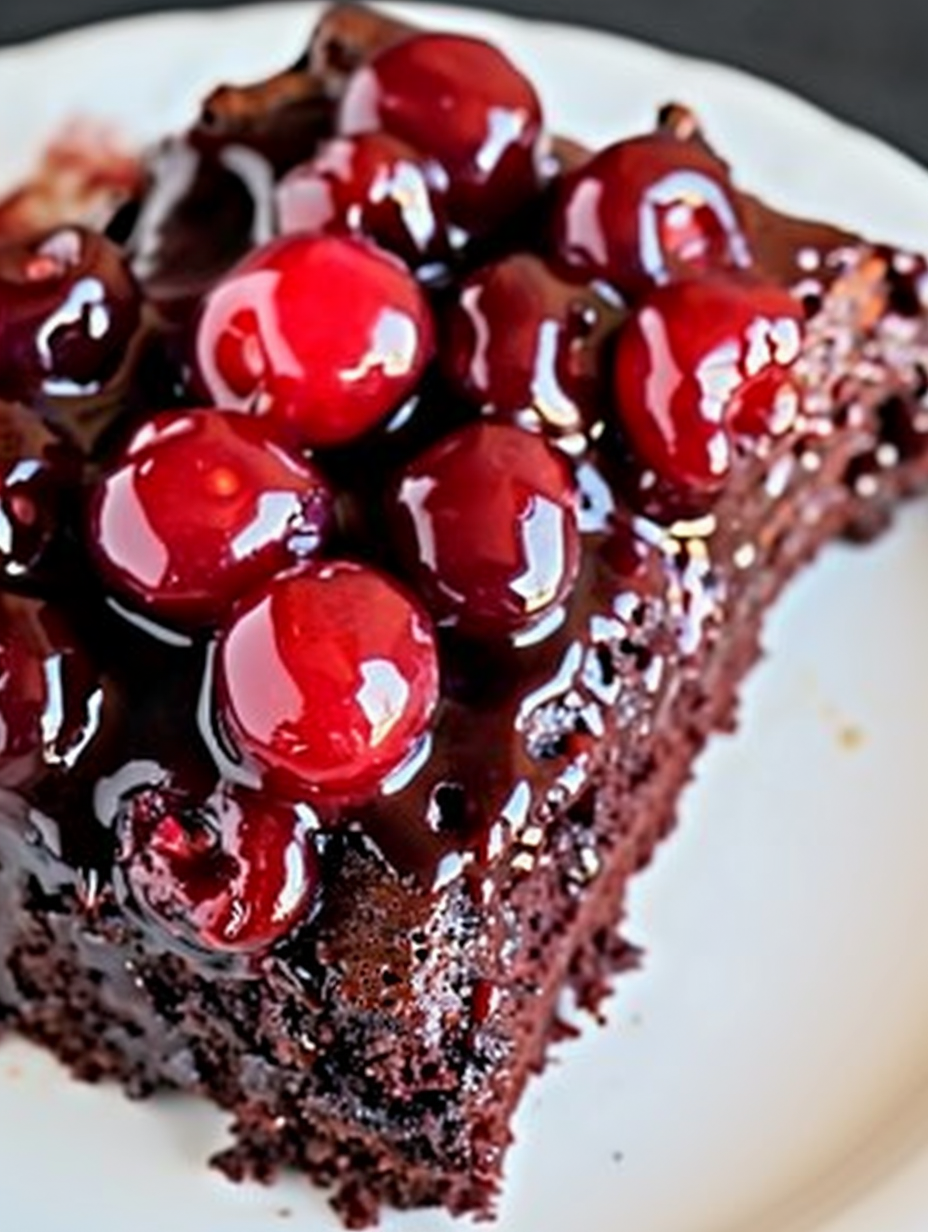
When I first adapted Mom's version, I was surprised how many guests assumed it took much more time. People love the glossy cherry top and the chocolate underneath. At holiday dinners my relatives always ask for the recipe; some insist it's the most nostalgic dessert on the table. The ease and reliability of this cake are what kept it in rotation for decades.
My favorite part is how the cherries taste like little roasted jewels on top of the cake. During a family reunion my aunt declared it the best upside-down dessert she'd ever had—she was surprised there were no eggs. That revelation often sparks conversation and a few good-natured debates about retro baking techniques.
Store the cake covered with plastic wrap or in an airtight container. At room temperature it keeps well for 48 hours in a cool, dry place; refrigeration extends freshness to about 5 days but can stiffen the cherry syrup slightly—allow the cake to sit at room temperature for 20 to 30 minutes before serving. For long-term storage freeze individual slices on a tray, then wrap in plastic and place in a freezer bag for up to 3 months. Reheat gently in a 300°F oven for 8 to 12 minutes to refresh texture.
If you prefer a different fruit, canned peach or pineapple pie filling will work; be mindful that pineapple contains enzymes that can affect texture when combined with baking soda, so reduce the baking time slightly. For a gluten-free version use a 1-to-1 gluten-free flour blend and ensure the pie filling is certified gluten-free. Swap canola oil for melted coconut oil for a hint of coconut aroma—expect a slightly firmer crumb when chilled.
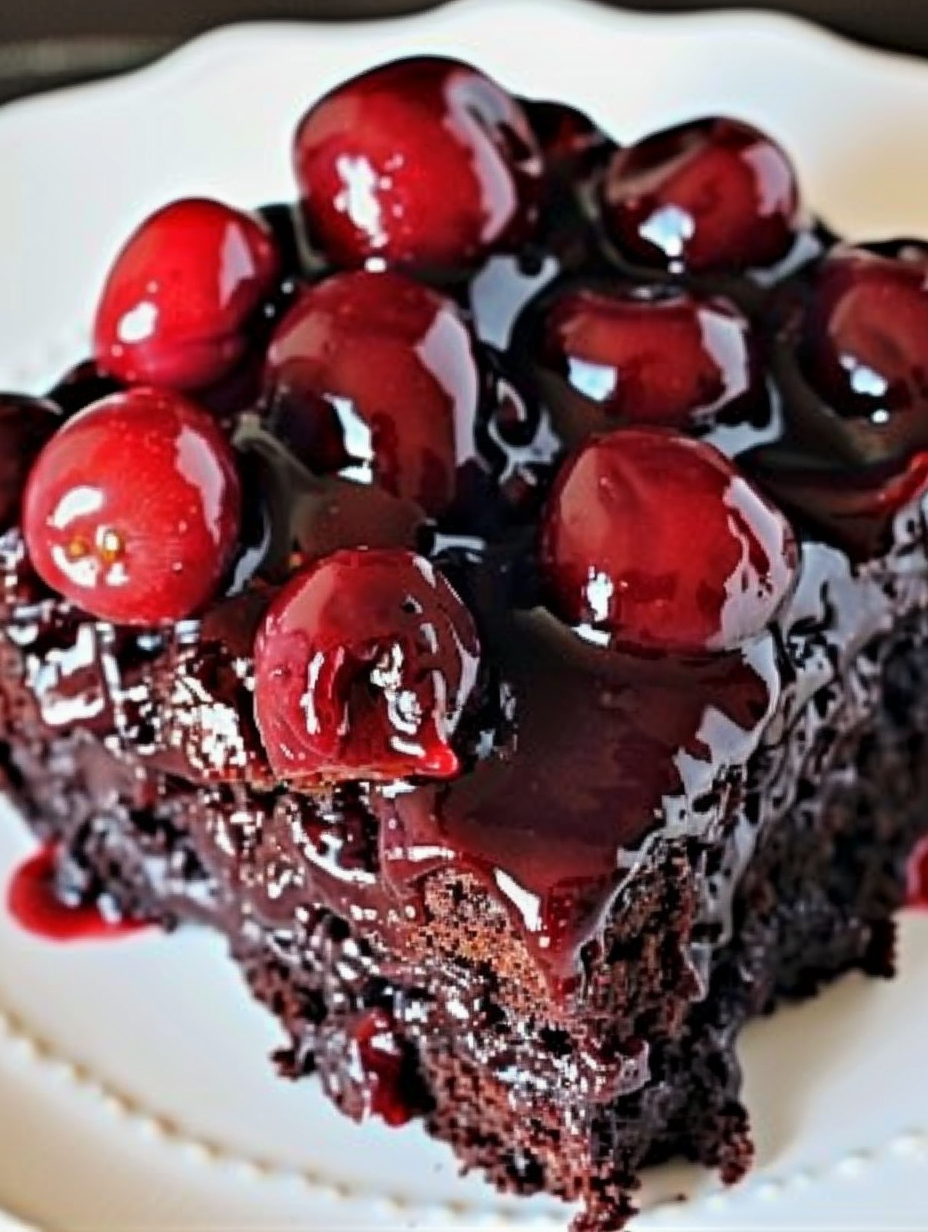
Serve warm with a scoop of vanilla ice cream or a dollop of whipped cream. For a fancier presentation, dust the edges lightly with powdered sugar and garnish with a few fresh cherries or chocolate shavings. This cake pairs well with coffee or a late-afternoon tea and makes an unpretentious yet elegant dessert for family dinners.
Upside-down cakes have a long home-baking history, dating back to when cooks used the simplest pantry items to create beautiful presentations. The retro charm of a fruit-topped cake flipped to reveal a glossy surface is classic Americana, often associated with mid-20th century home baking and community potlucks. The chocolate-and-cherry combination nods to European flavor pairings while remaining approachable and homey.
In winter use canned cherry as written for a festive dessert. In summer swap for macerated fresh cherries with a little sugar and cornstarch to thicken; roast briefly before assembling to concentrate their flavor. For holiday occasions add a pinch of cinnamon or a tablespoon of espresso powder to the batter to deepen the chocolate notes.
Cut into portions and store in individual airtight containers for grab-and-go desserts. If preparing for a week, bake two pans: one for immediate serving and one frozen for later. The batter can be mixed and refrigerated for a few hours before baking, but baking immediately after mixing yields the best rise because of the vinegar and baking soda reaction.
Finally, take a moment to savor the nostalgia when you serve it. This cake refuses to be fussy and that’s its greatest strength. Bring it to a table full of family or enjoy a quiet slice with coffee — either way it carries warmth, memory, and a very approachable chocolate-cherry flavor that people keep asking about.
Use natural unsweetened cocoa for optimal rising since it reacts predictably with baking soda.
Do not overmix once liquids are added; a few streaks in the batter are fine and prevent a dense crumb.
Allow the cake to rest 10 to 15 minutes before inverting to reduce the risk of the topping sticking.
This nourishing mom's chocolate cherry upside-down cake recipe is sure to be a staple in your kitchen. Enjoy every moist, high protein slice — it is perfect for breakfast or as a wholesome snack any time.
Yes. Refrigerate leftovers in an airtight container for up to 5 days. Bring to room temperature before serving for best texture.
Yes, you can freeze baked slices for up to 3 months. Wrap tightly and thaw overnight in the refrigerator.
This Mom's Chocolate Cherry Upside-Down Cake recipe makes perfectly juicy, tender, and flavorful steak every time! Serve with potatoes and a side salad for an unforgettable dinner in under 30 minutes.
Grease a 9x13-inch baking pan and spread the cherry pie filling evenly across the bottom, distributing cherries so they form a uniform layer.
In a large bowl whisk together flour, sugar, cocoa, baking soda, and salt until well combined and lump-free.
Whisk water, oil, white vinegar, and vanilla in a separate bowl until combined and pourable.
Add the liquids to the dry ingredients all at once and stir until just moistened; avoid overmixing to keep the crumb tender.
Pour the batter over the cherries and smooth the top. Bake in a preheated 350°F oven for 35 to 40 minutes or until a pick comes out clean.
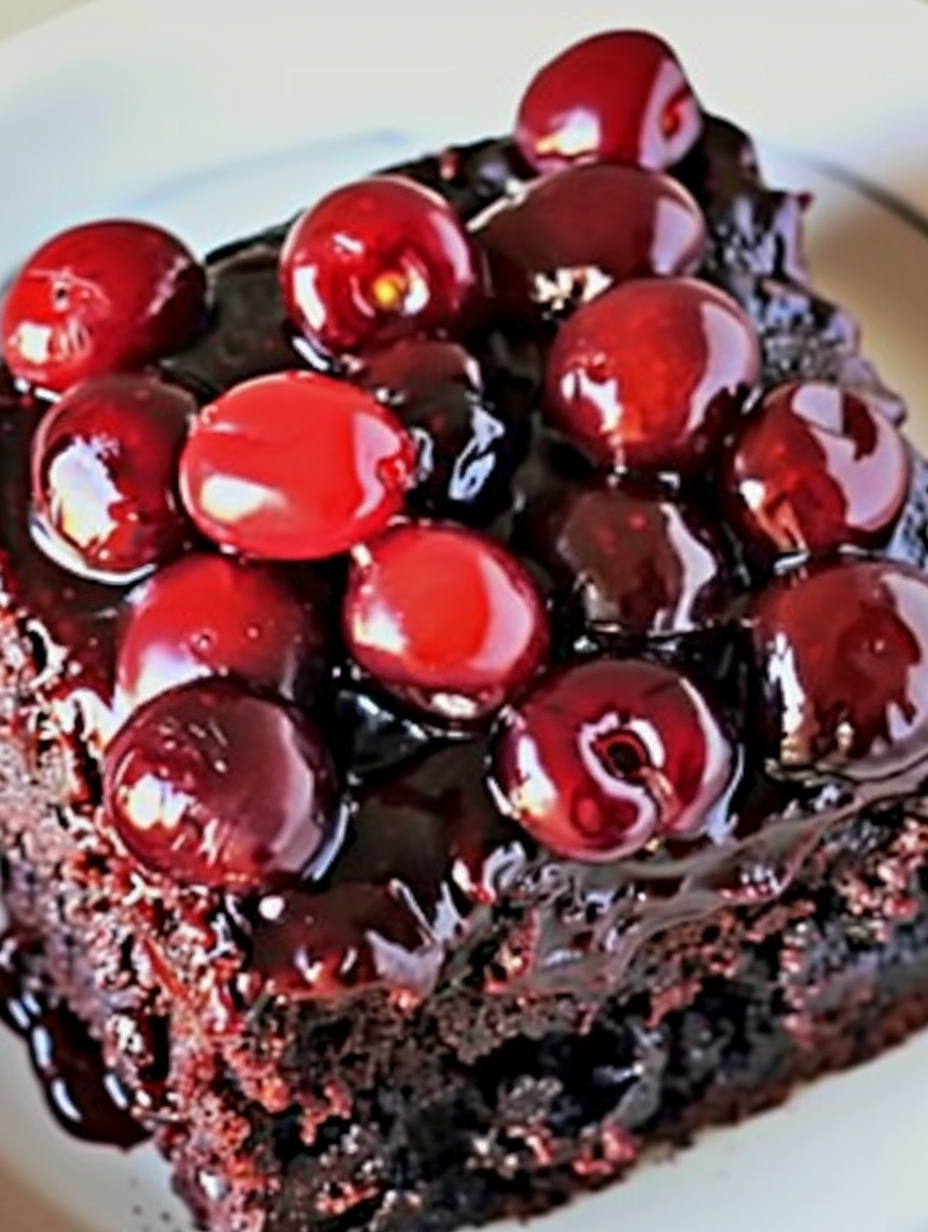
Cool the pan on a rack 10 to 15 minutes, then invert onto a serving tray. Remove the pan slowly so the cherry topping stays glossy and intact.
Last Step: Please leave a rating and comment letting us know how you liked this recipe! This helps our business to thrive and continue providing free, high-quality recipes for you.
Leave a comment & rating below or tag
@yummique on social media!

Tender grilled zucchini wraps basil ricotta, bathed in marinara and mozzarella, baking into a bubbly, lighter Italian comfort dinner ready in 30 minutes.

Crisp-edged, tender-in-the-middle zucchini and yellow squash made in 15 minutes with pantry spices. A vibrant, veggie-forward side everyone devours.

Tender chicken meatballs simmered in rich marinara and blanketed with melty mozzarella, bringing all the flavors of chicken parm in cozy, bite-sized form.
Leave a comment & rating below or tag @yummique on social media!
Enjoyed this recipe? Share it with friends and family, and don't forget to leave a review!
This recipe looks amazing! Can't wait to try it.
Comments are stored locally in your browser. Server comments are displayed alongside your local comments.

Join to receive our email series which contains a round-up of some of our quick and easy family favorite recipes.
