
>>

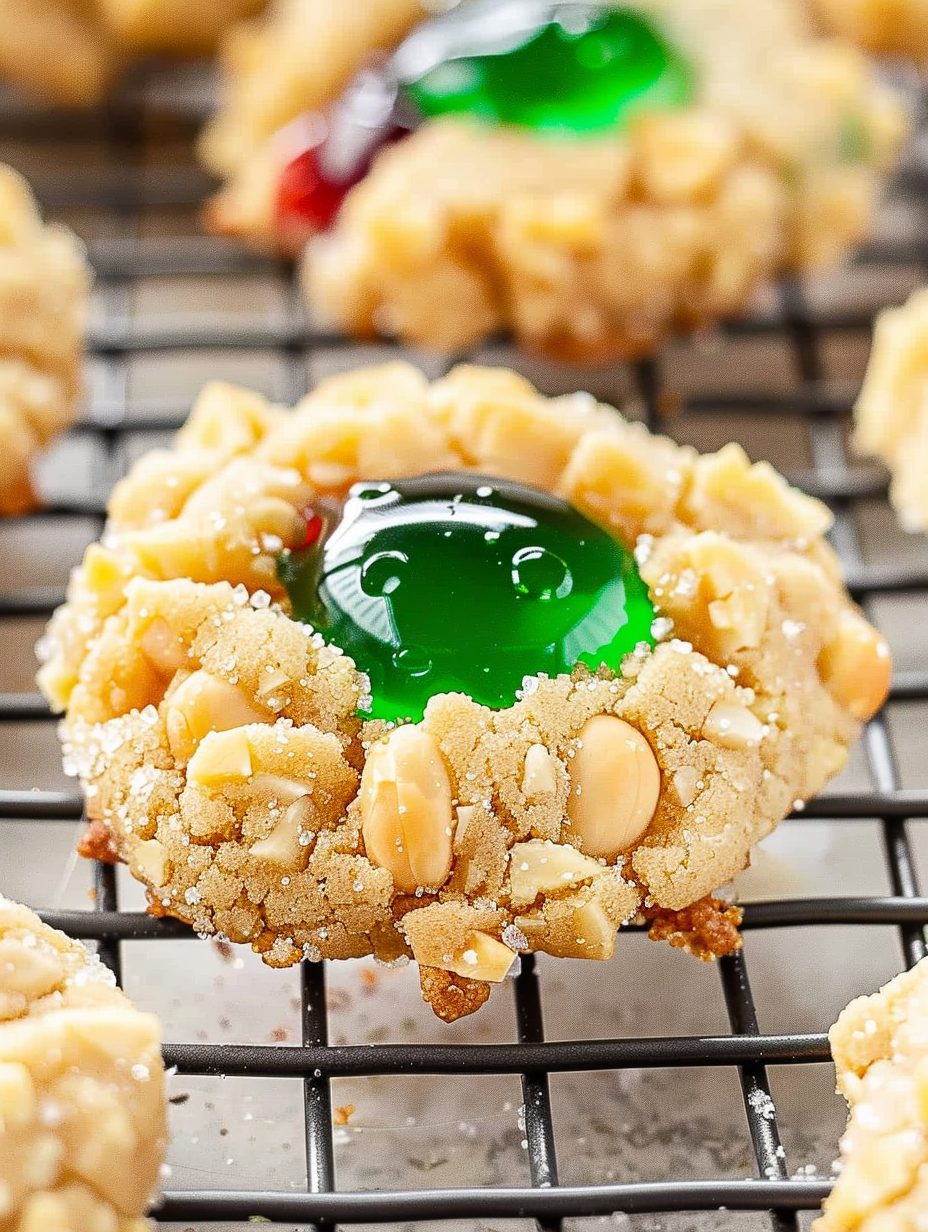
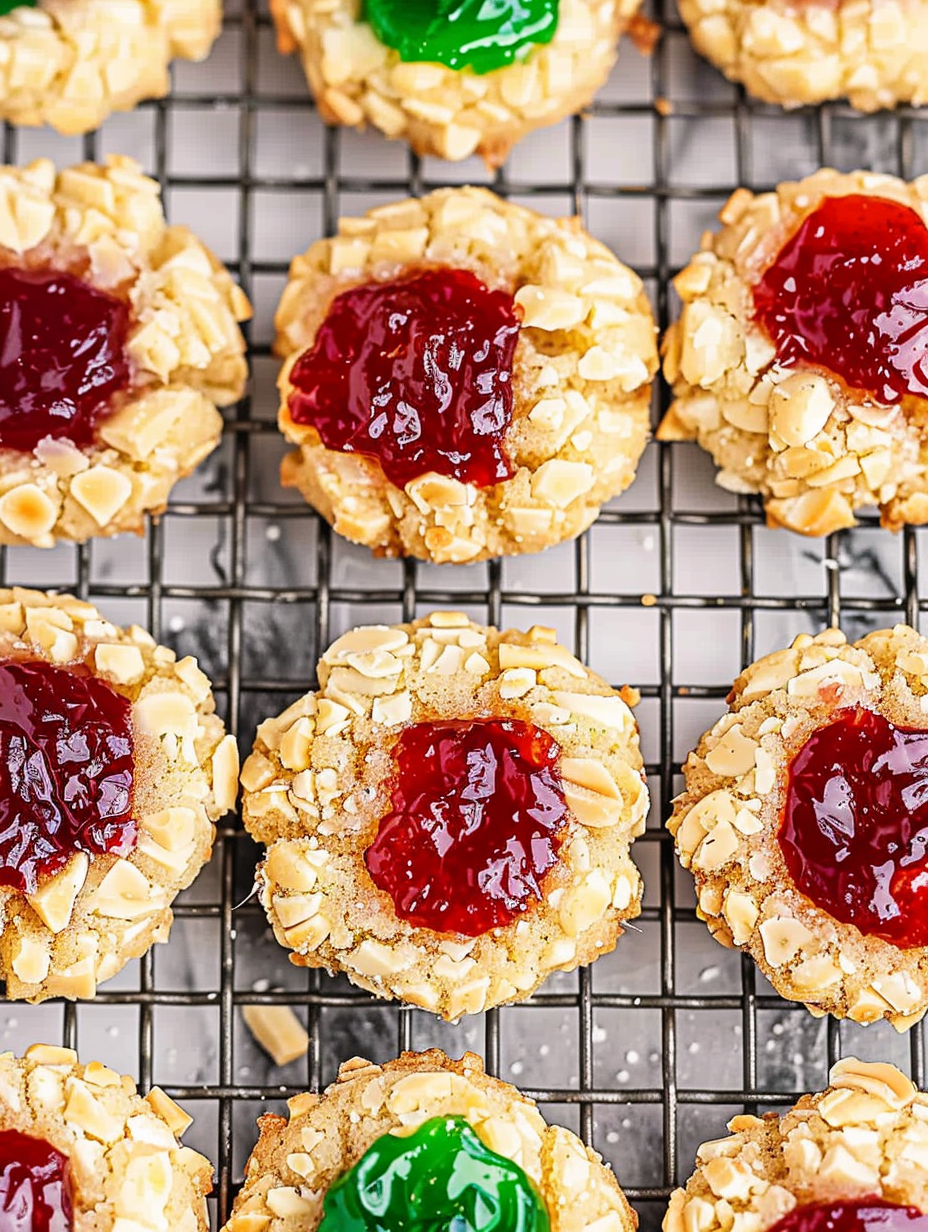
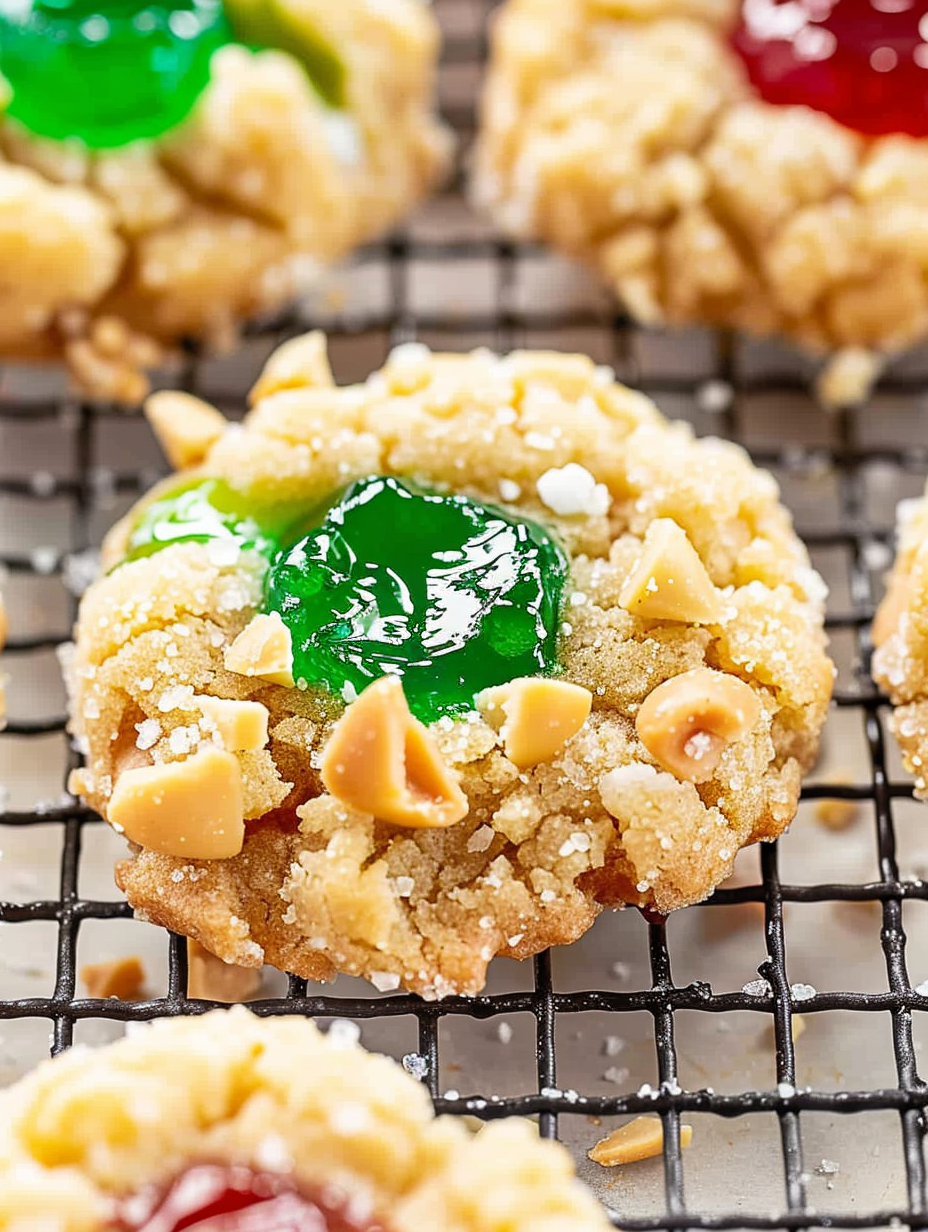
Classic holiday thumbprint cookies packed with chopped peanuts and a small spoonful of bright jelly—crisp at the edges, tender in the middle, and irresistibly festive.
This recipe landed on my holiday baking list years ago and instantly became one of those traditions that feels like a warm kitchen hug. These jelly thumbprint cookies are buttery, nutty, and cheerful with just a teaspoon of jewel-toned jam tucked into each little well. I first made them on a snowy afternoon while listening to holiday music; my kids insisted on helping press each thumbprint and chose the jelly colors. The hands-on nature of these cookies makes them a perfect family activity, and the result is a tray full of treats that disappear faster than I can box them up for neighbors.
The texture is what keeps me coming back: slightly crisp edges, a tender buttery center, and the crunch of chopped peanuts coating the outside. The almond extract whispers in the background and complements both the peanut and jam flavors without stealing the show. They’re festive, portable, and surprising because the small spoonful of jelly melts into the center rather than overpowering the cookie. I love to bake a double batch for cookie swaps—people often ask for the recipe after the first bite.
I’ll never forget the first time I baked these for a holiday party—my neighbor sampled one and asked if I’d made enough for everyone. That moment convinced me these cookies were worth perfecting. Over the years I’ve learned small tricks—using one teaspoon of jam per cookie, pressing a measured indent, and lightly toasting the peanuts—to keep the texture balanced and prevent jam from spilling over in the oven.
My favorite thing about these is how they bring people together—my children and I have made hundreds of thumbprints over the years, trading jelly colors and arguing over who gets the red ones. Neighbors expect them now, and I love that a simple cookie can become a small tradition that’s part of our holiday rituals.
Store completely cooled cookies in a single layer or with parchment between layers in an airtight tin or container at room temperature for up to five days. For longer storage, freeze in a single layer on a sheet tray until firm, then transfer to a freezer-safe container for up to three months. To thaw, leave at room temperature for about 30 minutes; reheat gently in a 300°F oven for 3–5 minutes if you want the peanuts crisped up again. Avoid refrigerating—cold air dries these cookies faster and can make them crumbly.
If you need a nut-free version, substitute crushed pretzels or toasted coconut flakes for the chopped peanuts—the texture will change but you’ll keep the extra crunch. For a gluten-free option, use a one-to-one gluten-free flour blend and add 1 teaspoon of xanthan gum if your blend lacks it. Swap almond extract for vanilla if nut extract is a concern, or use natural peanut butter (dehydrated style) mixed with crumbs to create a peanut coating when whole nuts aren’t allowed. For a lower-sugar option, use a reduced-sugar jam and reduce the brown sugar by 1 tablespoon, though texture will shift slightly.
Serve these on a holiday cookie platter alongside spiced cookies, shortbread, and chocolate-dipped treats for a beautiful mix of textures and colors. Garnish the tray with fresh rosemary sprigs and pomegranate seeds for an elegant holiday presentation. These are perfect with a small cup of strong coffee, a glass of cold milk, or mulled cider. Make mini versions by rolling smaller 3/4-inch balls and using 1/2 teaspoon jam for bite-sized delights at parties.
Thumbprint-style cookies have European roots and are often associated with Scandinavian baking traditions, where jams and preserves play a central role in sweet biscuits. Over time, the thumbprint evolved across countries to include diverse fillings—lemon curd, chocolate ganache, and nut pastes. The combination of peanut coating and colorful jelly is a distinctly modern, American holiday twist that nods to peanut butter and jelly flavors while maintaining the classic thumbprint silhouette.
In winter, use cranberry-orange jam or spiced cherry preserves for a festive flavor; in summer, try apricot or raspberry for a brighter note. For Thanksgiving, swap green jelly with apple butter in a small spoon to echo autumn flavors. During cookie exchanges, use a variety of jams so your platter offers different tastes—consider labeling each jar so guests know which flavor they’re sampling.
Form the cookie dough and portion it into 24 balls, then freeze or refrigerate. When you’re ready to bake, roll in egg white and peanuts and add jam to the wells. This streamlined approach makes it easy to bake fresh cookies for company while spending minimal time on the day of. Use clear, labeled freezer bags and store prepped balls flat to save space; bake directly from frozen, adding a minute or two to the bake time.
These little cookies are more than a sweet bite—they’re a way to make memories. Whether you’re baking with friends, teaching kids a new skill, or making tins for neighbors, these jelly thumbprint cookies are reliable, delicious, and endlessly adaptable. Happy baking!
Use one teaspoon of jam per well to prevent overflow during baking.
Chill dough briefly if it’s too sticky to roll—cold dough shapes better.
Toast peanuts lightly for deeper flavor but avoid burning them before coating.
Measure flour by spooning into the cup and leveling for accurate texture.
Bake until the peanut edges just turn golden to retain a tender center.
This nourishing jelly thumbprint cookies recipe is sure to be a staple in your kitchen. Enjoy every moist, high protein slice — it is perfect for breakfast or as a wholesome snack any time.
This Jelly Thumbprint Cookies recipe makes perfectly juicy, tender, and flavorful steak every time! Serve with potatoes and a side salad for an unforgettable dinner in under 30 minutes.
Cream the softened butter and brown sugar until light. Add the egg yolk and almond extract, then fold in flour and salt until just combined.
Spoon or scoop 1-inch portions of dough and roll into balls. Chill briefly if dough is too soft to handle.
Whisk the reserved egg white until frothy. Dip each ball in egg white, roll in chopped peanuts, and set on a parchment-lined baking sheet.
Press a shallow well in each ball with your thumb or utensil and fill each indentation with about 1 teaspoon of jelly.
Bake at 350°F for 12–14 minutes until the peanuts brown at the edges. Cool completely on the pan before transferring to a rack or container.
Last Step: Please leave a rating and comment letting us know how you liked this recipe! This helps our business to thrive and continue providing free, high-quality recipes for you.
Leave a comment & rating below or tag
@yummique on social media!

Tender grilled zucchini wraps basil ricotta, bathed in marinara and mozzarella, baking into a bubbly, lighter Italian comfort dinner ready in 30 minutes.

Crisp-edged, tender-in-the-middle zucchini and yellow squash made in 15 minutes with pantry spices. A vibrant, veggie-forward side everyone devours.

Tender chicken meatballs simmered in rich marinara and blanketed with melty mozzarella, bringing all the flavors of chicken parm in cozy, bite-sized form.
Leave a comment & rating below or tag @yummique on social media!
Enjoyed this recipe? Share it with friends and family, and don't forget to leave a review!
This recipe looks amazing! Can't wait to try it.
Comments are stored locally in your browser. Server comments are displayed alongside your local comments.

Join to receive our email series which contains a round-up of some of our quick and easy family favorite recipes.
