
>>

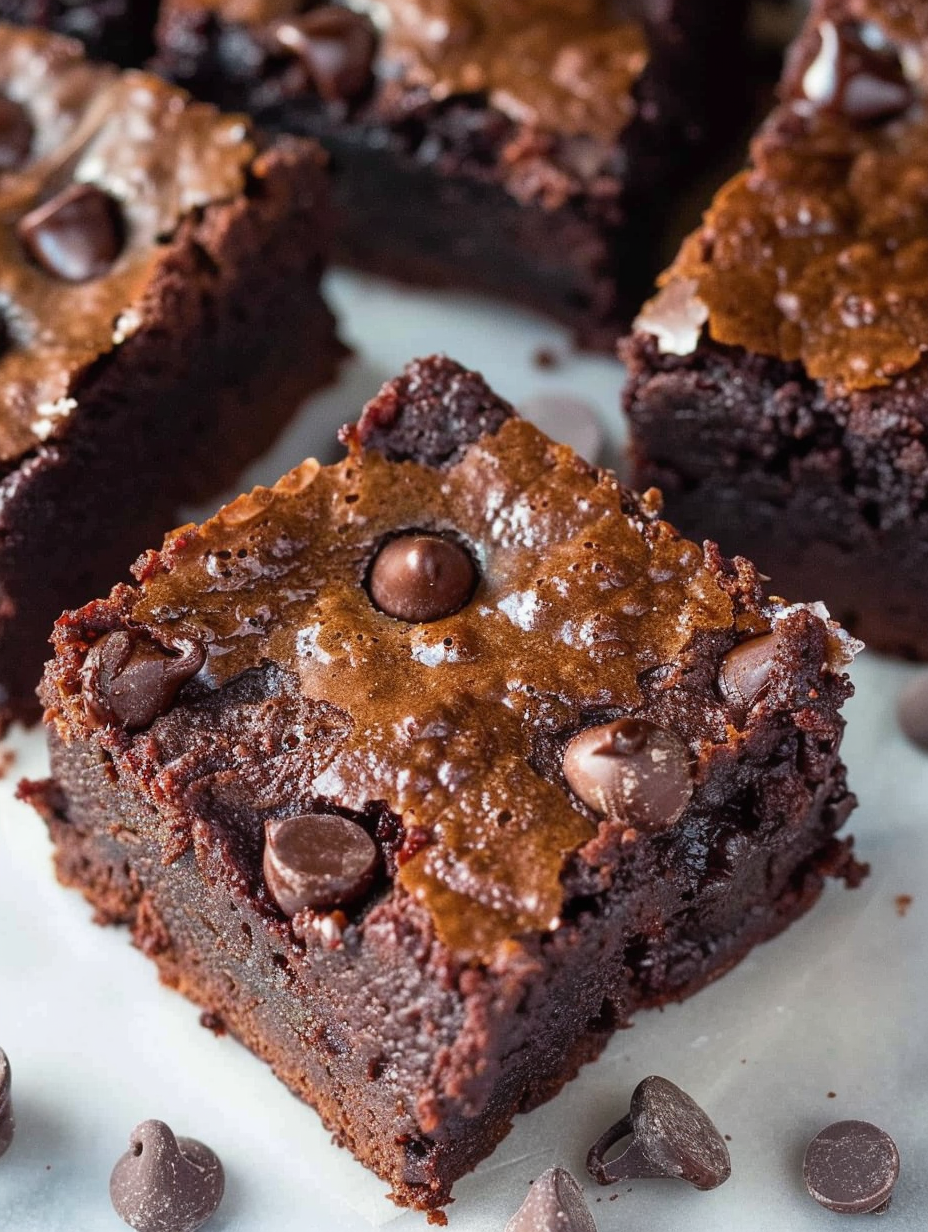
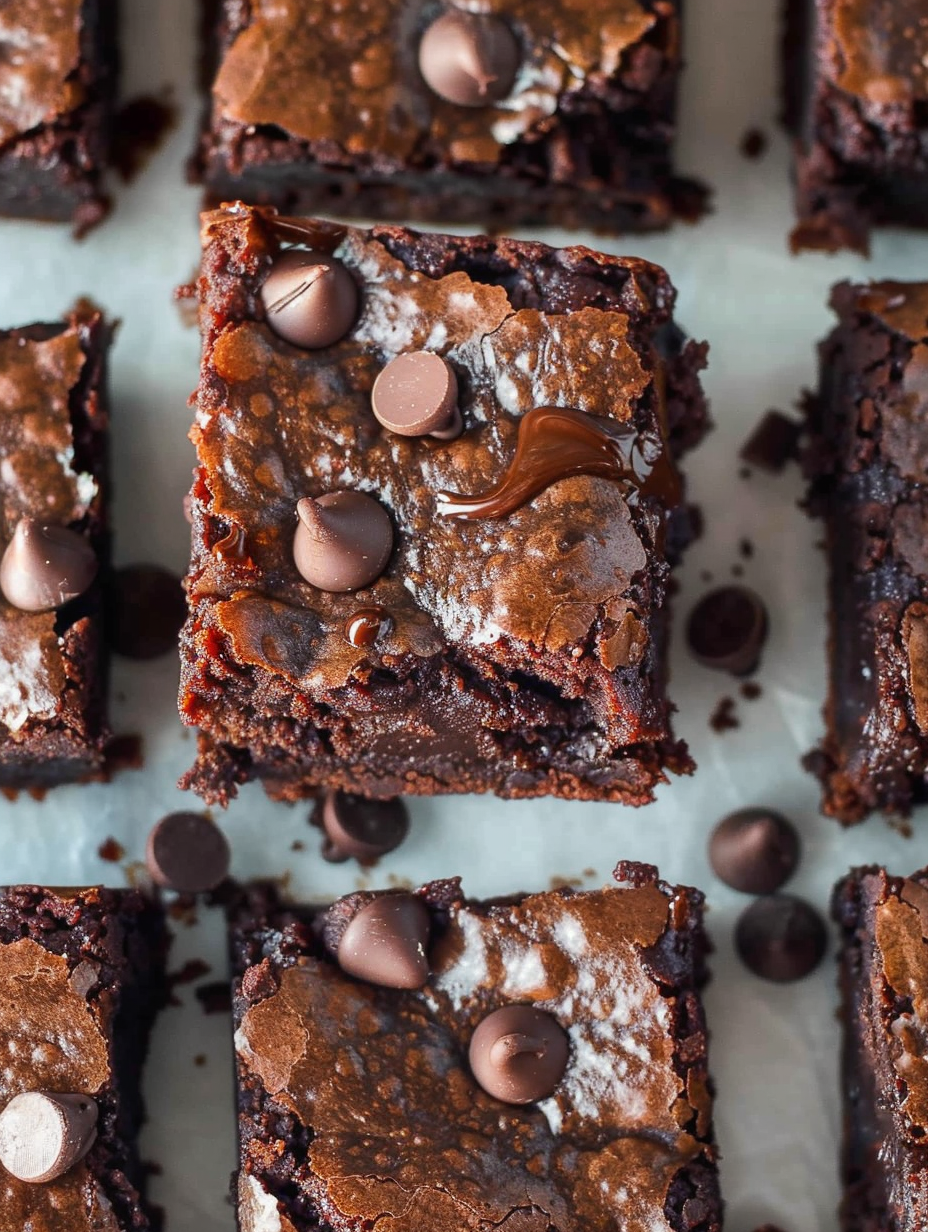
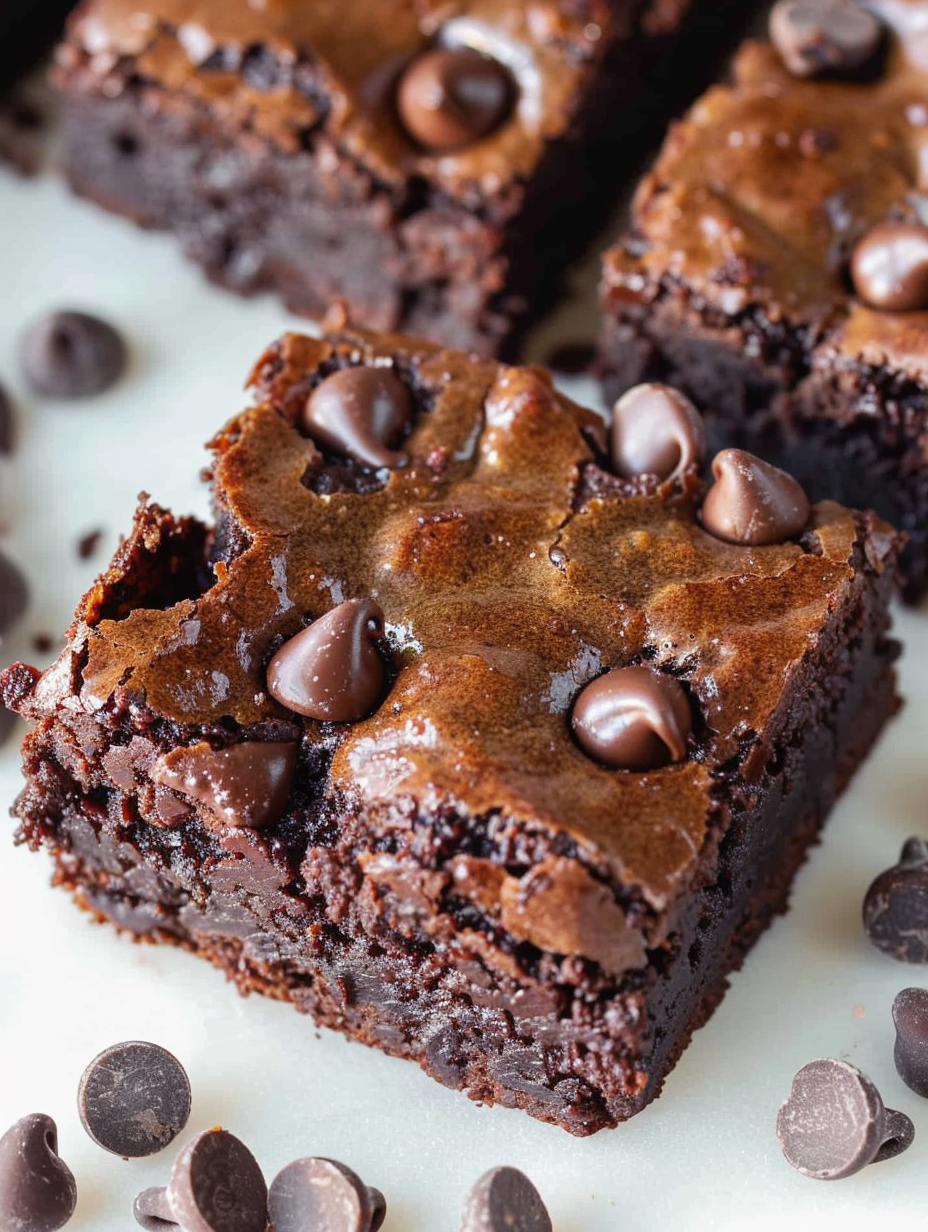
Rich, fudgy, and irresistibly chocolatey almond flour brownies that are naturally gluten-free and paleo-friendly. Easy to make and perfect for sharing.
Personally, the first time I served these to a mixed group of eaters, a friend who usually chooses cake over brownies asked for the recipe. My family loved that they tasted like a classic treat but felt lighter on the stomach. Over time I refined the bake time and cooling step based on feedback: a short rest after baking makes cutting cleaner and improves the mouthfeel.
What I love most about this version is the balance of intense chocolate with a tender, slightly nutty base. Guests often comment on the fudgy bite and the clean chocolate flavor without being sickeningly sweet. Over time I learned to trust the visual cues rather than the timer alone; once the top is set with a slight give, the interior finishes during resting. That little pause makes all the difference for presentation and texture.
Store cooled squares in an airtight container at room temperature for up to three days. For firmer slices or travel, refrigerate for up to five days; place parchment between layers to prevent sticking. To freeze, wrap individual squares in plastic wrap and place them in a freezer-safe bag or container for up to three months. Thaw overnight in the refrigerator or at room temperature for a couple of hours. For a warm, gooey serving, microwave a thawed brownie for 10 to 15 seconds, checking frequently to avoid overheating.
If you want a lower-sugar option, replace coconut sugar with 3/4 cup erythritol blend, but expect a slightly less caramelized top. To make them nut-free, almond flour can be swapped with sunflower seed flour using the same volume, though the batter may turn green slightly when mixed with baking soda and cocoa; this is harmless and only cosmetic. For a vegan version, try a commercial egg replacer equivalent to two eggs (such as Bob's Red Mill egg replacer) but note texture will be slightly different and the brownies may be less structured.
Serve warm with a scoop of dairy-free vanilla ice cream or plain Greek yogurt for contrast. Sprinkle flaky sea salt on top just after baking to heighten the chocolate flavor. For a party platter, top squares with a drizzle of melted dark chocolate and chopped toasted almonds for extra crunch. These squares pair beautifully with an espresso or a full-bodied black tea and make a lovely finish to a dinner party or casual weekend coffee break.
In cooler months, add a pinch of ground cinnamon and a half teaspoon of instant espresso powder to amplify chocolate depth. For holiday occasions, fold in 1/4 cup chopped dried cherries and a teaspoon of orange zest for a festive twist. In summer, serve chilled with a bright berry compote to cut through the richness. Small seasonal tweaks keep the core method intact while allowing you to highlight fresh produce and spices.
Prepare the batter and pour it into the lined pan, then cover tightly and refrigerate for up to 24 hours before baking. This is handy when planning dessert for a gathering. After baking and cooling, slice and portion into single-serve containers for grab-and-go snacks. For office lunches or snack boxes, include a small paper liner to keep squares from sticking. Label with date and use within five days refrigerated or freeze for longer storage.
These almond flour brownies have become a staple in my dessert rotation because they are dependable, adaptable, and always well received. Give them a try and feel free to make them your own with mix-ins or spice blends. Baking is part science and part memory, and these squares carry both: reliable method and fond shared moments around the table.
Bring eggs to room temperature before mixing for better emulsification and a smoother batter.
Do not overmix once dry ingredients are added; stir until just combined to avoid a grainy texture.
Use finely milled blanched almond flour for a tender crumb and avoid almond meal with skins for best appearance.
This nourishing gluten-free almond flour brownies recipe is sure to be a staple in your kitchen. Enjoy every moist, high protein slice — it is perfect for breakfast or as a wholesome snack any time.
Let the brownies cool completely; chilling briefly in the refrigerator will make slicing easier and cleaner.
Store at room temperature in an airtight container for up to 3 days, refrigerate up to 5 days, or freeze up to 3 months.
This Gluten-free Almond Flour Brownies recipe makes perfectly juicy, tender, and flavorful steak every time! Serve with potatoes and a side salad for an unforgettable dinner in under 30 minutes.
Preheat the oven to 350 0F (177 0C). Grease an 8x8 inch square pan or line with parchment, leaving an overhang for easy removal.
In a large bowl whisk 2 room-temperature large eggs, 1 cup coconut sugar, 1 teaspoon vanilla extract, and 1/2 cup avocado oil until glossy and fully combined.
Whisk together 3/4 cup cocoa powder, 1 cup almond flour, 1/4 teaspoon sea salt and 1/4 teaspoon baking soda. Add to wet mix and stir until just combined, avoiding overmixing.
Fold in half of the 1/3 cup chocolate chips, spread batter into prepared pan, then scatter remaining chips over the top for melty pockets and a decorative finish.
Bake for 25 minutes at 350 0F. The center should move slightly but not be wet on top; a toothpick at the edge should come out clean. If needed bake 3 to 5 more minutes.
Cool completely in the pan; refrigerate briefly for cleaner slices if desired. Use the parchment overhang to lift out and cut into 16 squares.
Last Step: Please leave a rating and comment letting us know how you liked this recipe! This helps our business to thrive and continue providing free, high-quality recipes for you.
Leave a comment & rating below or tag
@yummique on social media!

Tender grilled zucchini wraps basil ricotta, bathed in marinara and mozzarella, baking into a bubbly, lighter Italian comfort dinner ready in 30 minutes.

Crisp-edged, tender-in-the-middle zucchini and yellow squash made in 15 minutes with pantry spices. A vibrant, veggie-forward side everyone devours.

Tender chicken meatballs simmered in rich marinara and blanketed with melty mozzarella, bringing all the flavors of chicken parm in cozy, bite-sized form.
Leave a comment & rating below or tag @yummique on social media!
Enjoyed this recipe? Share it with friends and family, and don't forget to leave a review!
This recipe looks amazing! Can't wait to try it.
Comments are stored locally in your browser. Server comments are displayed alongside your local comments.

Join to receive our email series which contains a round-up of some of our quick and easy family favorite recipes.
