
>>

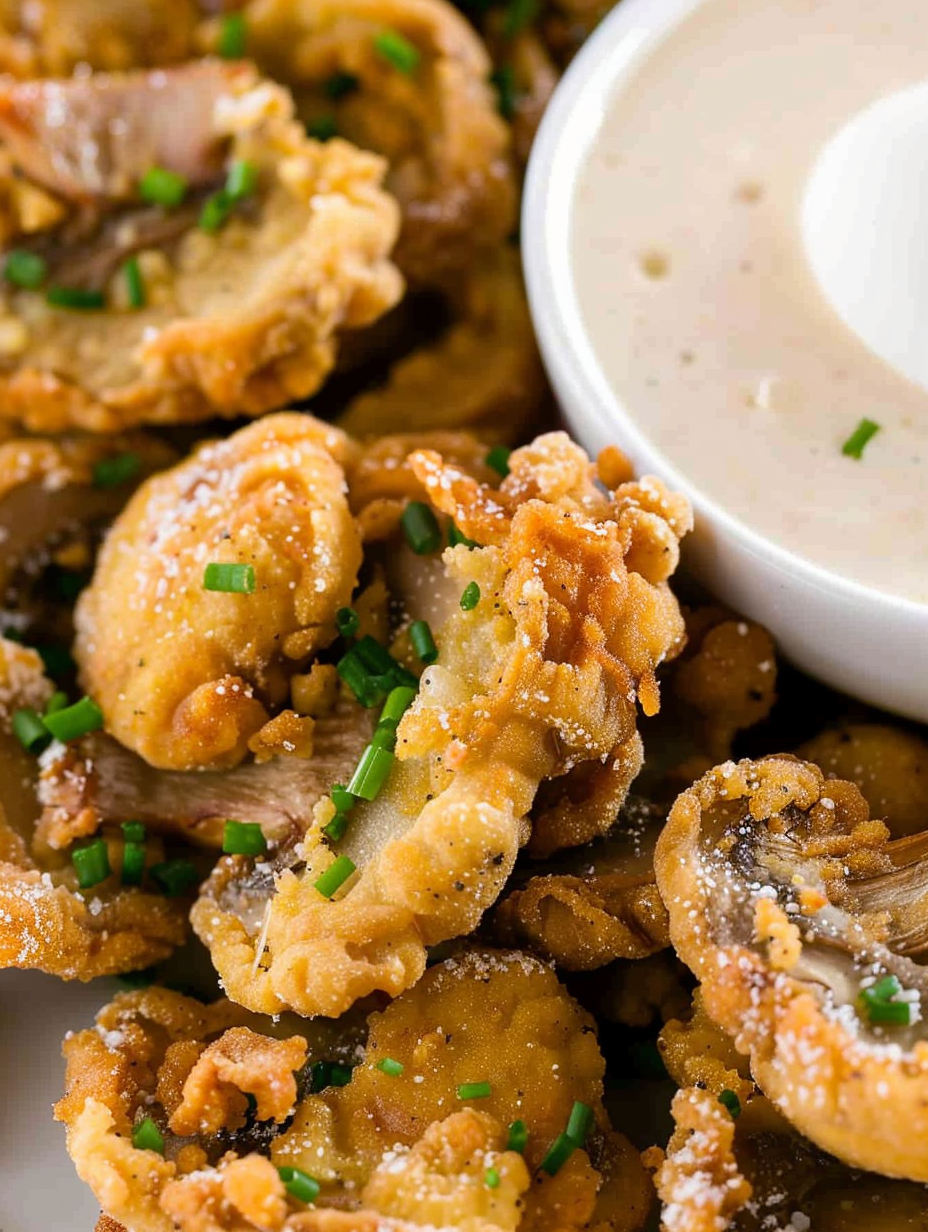
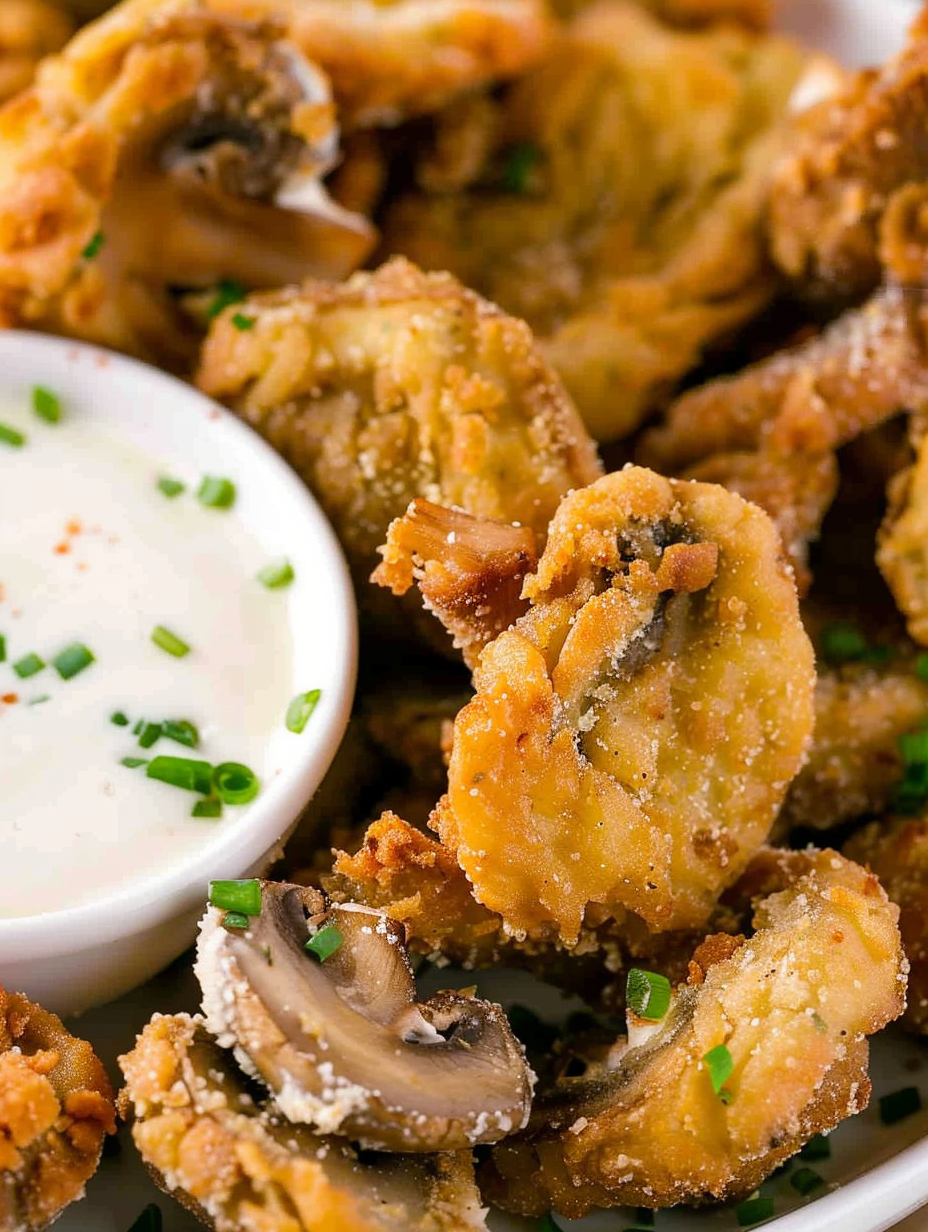
A simple, crowd-pleasing fried mushrooms method with two breading options—thin and thick—that yields golden, savory bites in minutes.
I remember serving a big bowl of these on a rainy Sunday while watching an old movie; the crunchy bites disappeared faster than I could refill the platter. Friends text me about this recipe every time mushrooms go on sale. It’s the kind of small, dependable success I enjoy repeating—simple technique, excellent reward.
My favorite aspect of these fried mushrooms is how they bridge comfort and elegance: they’re simple enough for casual snacking but crispy and flavorful enough to serve as an elegant starter. Once, at a small dinner party, a guest asked for seconds before the main course—something I consider a high compliment. The combination of hot oil, seasoned crust, and tender mushroom always makes for a memorable bite. Over time I learned to tune the salt and frying time to match the mushroom variety and thickness, which is the key to consistent success.
Store leftover pieces in a single layer in an airtight container lined with paper towels to absorb residual oil; place a new paper towel on top too. Refrigerate for up to 2 days—beyond that they will lose too much crispness. To reheat, preheat the oven or air fryer to 400°F and warm for 5–8 minutes until the exterior re-crisps. Avoid microwaving if you want to maintain texture, as it makes them soggy. For long-term storage, freeze on a baking sheet in a single layer until solid, then transfer to a zip-top freezer bag for up to 3 months; reheat straight from frozen at 425°F, checking frequently.
If you need gluten-free, replace all-purpose flour with a 1-for-1 gluten-free blend and add 1 teaspoon cornstarch per 1/2 cup flour to help the crust crisp. For a vegan version, substitute the eggs with aquafaba (3 tablespoons aquafaba equals one egg) or a mixture of 1/4 cup non-dairy milk plus 1 tablespoon flour as a binder. Use panko breadcrumbs in place of extra flour for an ultra-crunchy texture—coat mushrooms in binder, then press into panko before frying. Reduce seasoned salt if using a salty dip or cheese garnish to avoid over-salting.
Serve these as an appetizer with several dipping sauces: garlic aioli, sriracha mayo, honey mustard, or a simple lemon-herb yogurt dip. They make a terrific side for grilled meats, burgers, or a big leafy salad. For a party platter, pile them with roasted red peppers, olives, and small pickles. Garnish with chopped parsley and a dusting of smoked paprika or grated Parmesan for an attractive finish. Offer lemon wedges for guests who like brightness to cut through the fried richness.
Fried mushrooms are a universal idea—many cuisines crisp mushrooms in batter or breadcrumbs—but the American approach leans toward practicality and pantry-friendly ingredients. Breaded and fried vegetables became popular in American home cooking during the mid-20th century as frying pans and vegetable oils became widespread. This iteration—simple flour and seasoned salt, with optional egg—reflects that home-cooking lineage: fast, inexpensive, and adaptable. Variations appear globally, from Japanese tempura to Italian fritti, each highlighting local ingredients and techniques.
In autumn, swap white button mushrooms for small cremini or chanterelles when available; the deeper flavor stands up well to a thicker breading. Add warming spices like smoked paprika or a pinch of cayenne for cooler months. In spring and summer, make a lighter, thin coating and serve with herby yogurt dip made from dill and lemon. For holiday hosting, add finely grated Parmesan to the flour mix and serve with a roasted garlic dip for a festive, savory touch.
For make-ahead convenience, prepare the seasoned flour and egg wash in separate containers and slice mushrooms up to a day ahead, refrigerated on paper towels. Keep everything chilled until frying to minimize oil splatter. If you need to feed a crowd, fry in batches and keep finished pieces warm on a rack set over a baking sheet in a 200°F oven—this keeps them from steaming on a plate. Offer sauces in small bowls to prevent sogginess during service.
These golden bites are simple, fast, and endlessly adaptable—perfect for busy weeknights and relaxed gatherings alike. Try both coating methods to see which your family prefers, and don’t be afraid to experiment with spices and dips; that’s how the best signatures are born.
Do not soak mushrooms; wipe or rinse briefly and pat dry to avoid sogginess and oil splatter.
Test oil temperature by sprinkling a pinch of flour—if it sizzles immediately, the oil is ready.
For extra crunch in a gluten-free variation, add 1 teaspoon cornstarch per 1/2 cup gluten-free flour.
Keep finished pieces on a rack over a baking sheet in a 200°F oven to maintain crispness while frying additional batches.
This nourishing crispy fried mushrooms recipe is sure to be a staple in your kitchen. Enjoy every moist, high protein slice — it is perfect for breakfast or as a wholesome snack any time.
This Crispy Fried Mushrooms recipe makes perfectly juicy, tender, and flavorful steak every time! Serve with potatoes and a side salad for an unforgettable dinner in under 30 minutes.
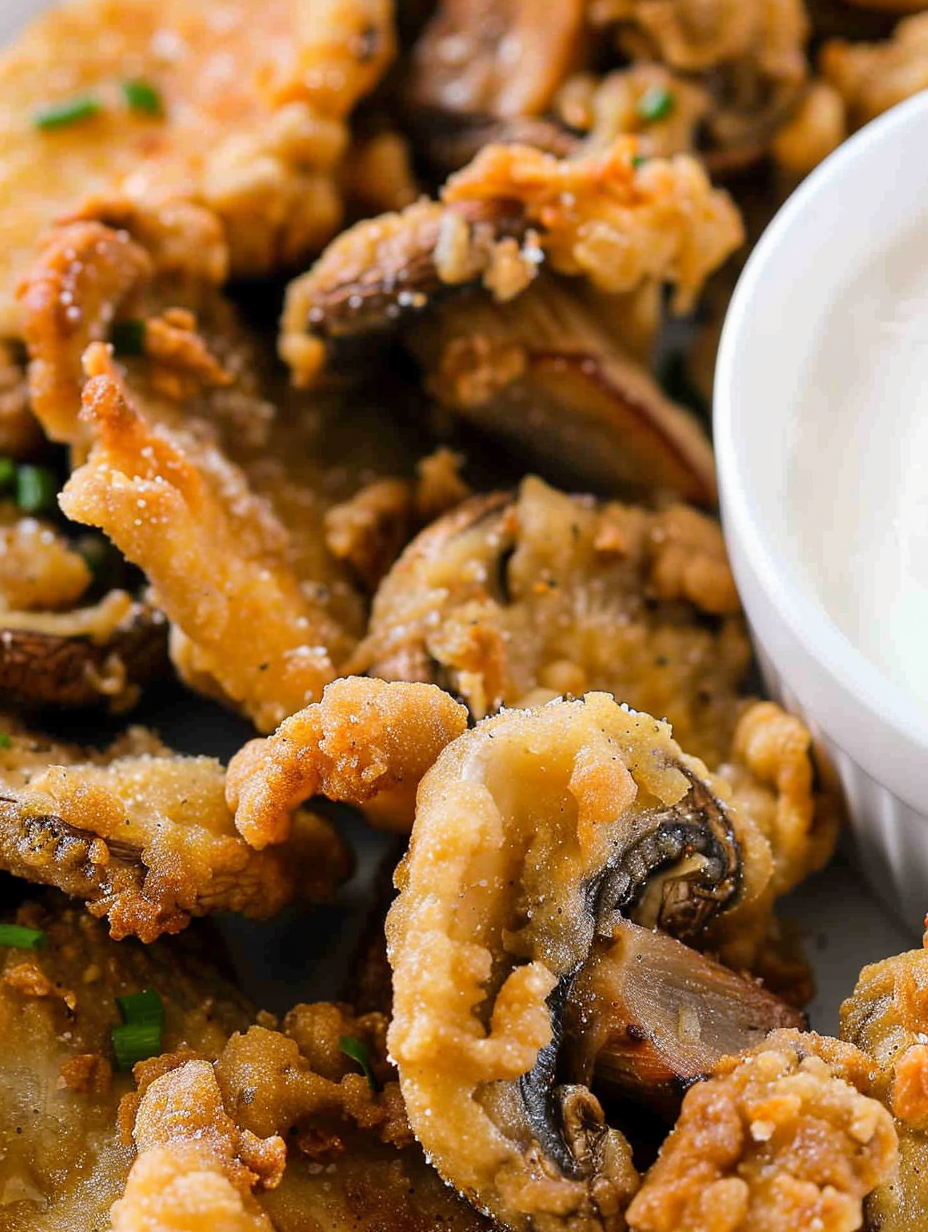
Wipe or briefly rinse the mushrooms and pat completely dry. Slice about 1/4-inch thick so they cook evenly. Trim stems if needed.
Pour oil to about 1 inch depth in a heavy skillet and warm over medium heat; for deep frying heat to 375°F. Test by sprinkling a pinch of flour—if it sizzles, oil is ready.
Combine 1 cup flour and 2 tablespoons seasoned salt in a bowl or zip-top bag and mix thoroughly so seasoning is even.
Toss sliced mushrooms directly in the seasoned flour to coat lightly. Fry in hot oil for 2–3 minutes until golden, flipping as needed for even browning.
Beat 2 eggs in a shallow bowl, dip mushrooms into egg, then dredge in seasoned flour. Fry 2–3 minutes until deep golden and crisp.
Remove to a paper towel-lined plate or wire rack to drain excess oil. Serve warm with chosen garnishes and dipping sauces.
Last Step: Please leave a rating and comment letting us know how you liked this recipe! This helps our business to thrive and continue providing free, high-quality recipes for you.
Leave a comment & rating below or tag
@yummique on social media!

Tender grilled zucchini wraps basil ricotta, bathed in marinara and mozzarella, baking into a bubbly, lighter Italian comfort dinner ready in 30 minutes.

Crisp-edged, tender-in-the-middle zucchini and yellow squash made in 15 minutes with pantry spices. A vibrant, veggie-forward side everyone devours.

Tender chicken meatballs simmered in rich marinara and blanketed with melty mozzarella, bringing all the flavors of chicken parm in cozy, bite-sized form.
Leave a comment & rating below or tag @yummique on social media!
Enjoyed this recipe? Share it with friends and family, and don't forget to leave a review!
This recipe looks amazing! Can't wait to try it.
Comments are stored locally in your browser. Server comments are displayed alongside your local comments.

Join to receive our email series which contains a round-up of some of our quick and easy family favorite recipes.
