
>>

These extra crispy chicken tenders deliver restaurant crunch at home. Learn the chef tricks for ultra-crunchy, well-seasoned tenders that stay juicy inside.
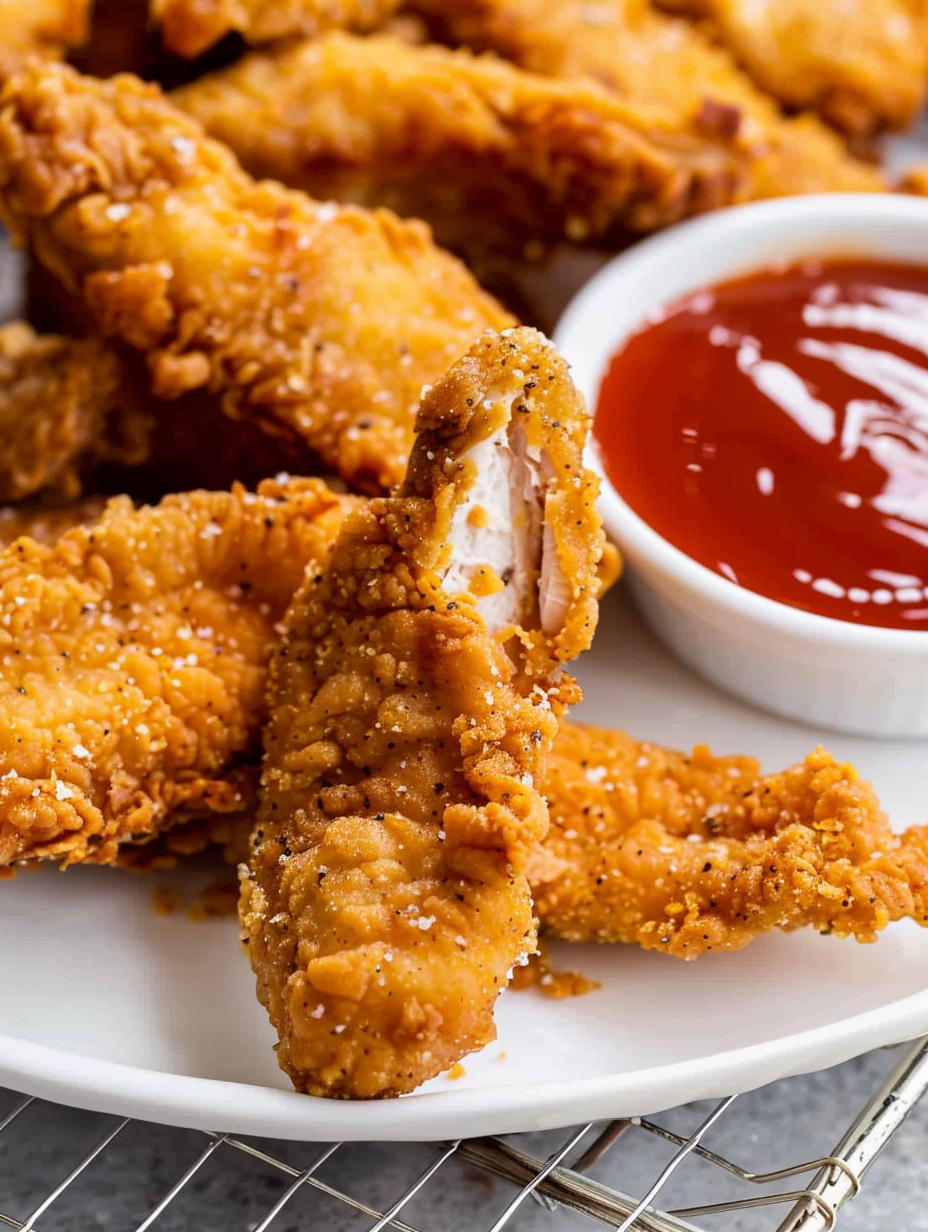
This recipe for extra crispy chicken tenders has been my go-to for when I want something nostalgic, crunchy, and reliably crowd pleasing. I first dialed in this method during a weekend when friends stopped by unexpectedly. I wanted the deep-fried crunch you get at a favorite diner but with better seasoning and no mystery oil. The result was a plateful of long, golden tenders that snapped when bitten and revealed a juicy interior. Hands went straight to the platter and the second batch barely made it to the table. That moment convinced me this approach belongs in the regular rotation.
What makes these tenders special is a handful of small techniques that chefs use but home cooks sometimes skip. Dry brining for a few hours firms the surface, pounded texture gives the breading something to grip, and using egg whites whipped until frothy creates a light adhesive that lets the flour and breadcrumb mix cling without becoming gummy. Combined with frying at a steady 350 to 375 degrees Fahrenheit, those elements produce a crunchy, seasoned crust and an interior that reaches 165 degrees Fahrenheit every time. Serve them hot and you have a plate that competes with any restaurant favorite.
Personally, my family calls these the plate lifters because there is never one left untouched. I remember serving them at a casual birthday party where kids and adults both favored them over the other mains. I learned that a half hour on a warm oven keeps them crisp while you finish the rest of the batch and that the egg white trick is the single most effective way to keep breading from slipping off during frying.
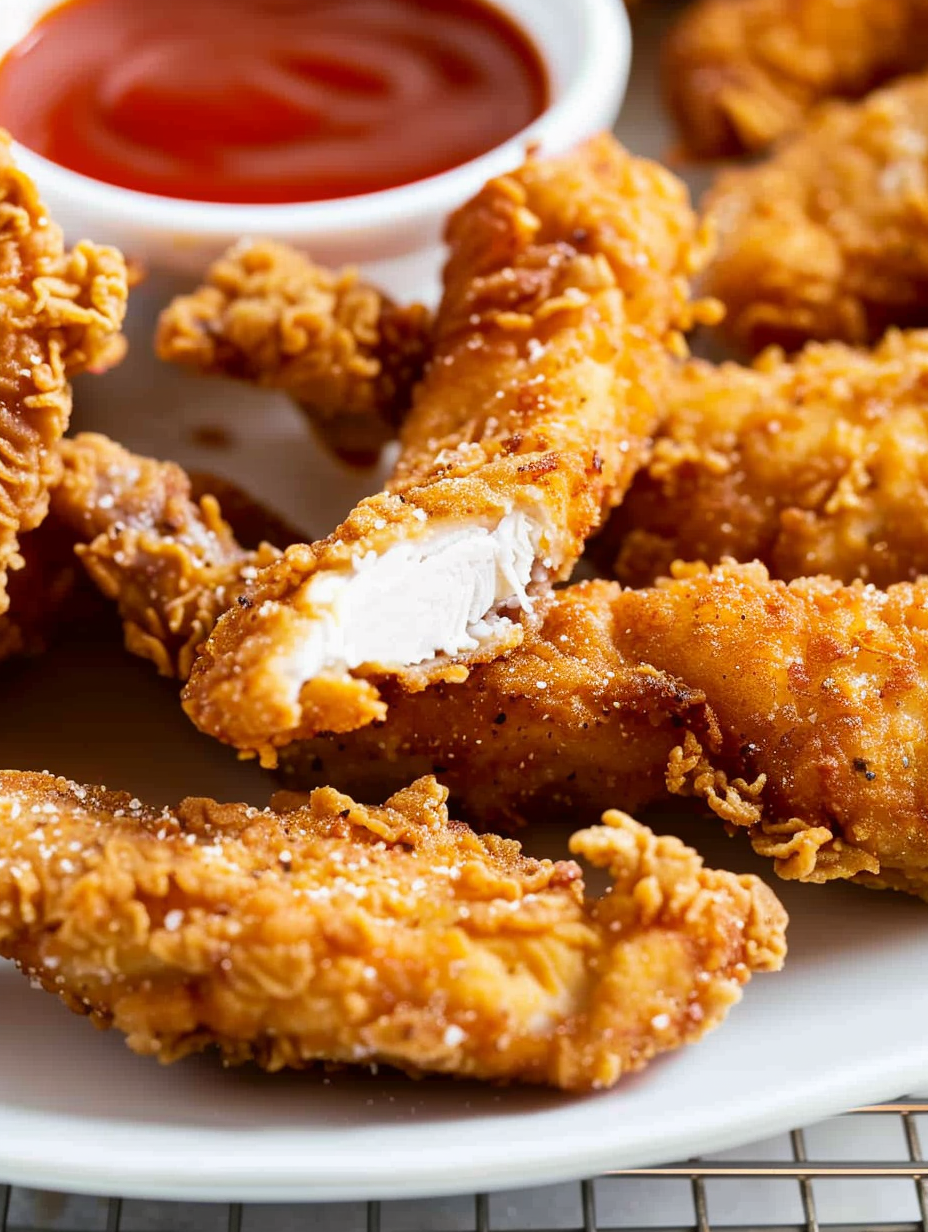
My favorite part of making these is the audible crunch when you bite into them. Friends have told me they prefer these to their regular order at restaurants because the seasoning is more balanced and the breading is lighter. One time a neighbor asked for the recipe and then brought back a container of homemade honey mustard as a thank you. That small exchange is why I love sharing this method. When kids and adults alike reach for second helpings and the platter empties quickly you know you have a winner.
Store cooked tenders on a wire rack in the refrigerator for up to four days to retain texture. If stacking is unavoidable, place parchment between layers to reduce condensation. For freezing, cool completely then flash freeze on a sheet tray until firm before transferring to labeled freezer bags for up to three months. Reheat in a preheated 350 degrees Fahrenheit oven on a rack set over a baking sheet for 8 to 12 minutes for best results. Avoid microwaving unless you are willing to accept a softer crust.
If you need to avoid gluten swap the all purpose flour and breadcrumbs for a 1 to 1 gluten free flour blend and gluten free panko. For a richer coating try panko mixed with crushed cornflakes using a 1 to 1 ratio with the breadcrumbs. To make a dairy free version this recipe is naturally dairy free; simply verify your breadcrumbs contain no milk solids. If you want more herb flavor add 1 tablespoon finely chopped parsley and 1 teaspoon garlic powder to the dry mix. Reducing the cayenne yields a milder crust for children.
These tenders shine with a simple dipping trio such as honey mustard, classic barbecue sauce, and ranch. Serve them with crisp celery and carrot sticks for a game day spread or pile them on a soft bun with slaw to make a crunchy sandwich. For a healthier plate, pair with a mixed green salad and a light vinaigrette. Garnish with chopped parsley and a lemon wedge for brightness that cuts through the fried crust.
Fried chicken has deep roots in American cooking, blending techniques from West African frying traditions and European breading and spice methods. The idea of coating and frying small strips of chicken evolved into a popular fast casual and family dining staple. Regional variations across the United States emphasize different coatings and spice profiles from Nashville hot to Southern buttermilk fried chicken. These tenders borrow the simplicity of classic Southern frying while staying approachable for home cooks.
In summer pair tenders with a fresh corn salad and light slaw. In colder months offer spicy maple dipping sauce to add warmth. Around holidays consider making a batch ahead and keeping them warm for casual gatherings. Swap breadcrumbs for finely chopped roasted nuts and herbs in fall for a nutty crust. Small adjustments to spice and sides will make these work year round.
For meal prep, fully cook a large batch and cool on racks before portioning into microwave safe containers with parchment. Keep dipping sauces separate. Reheat single portions in the oven at 350 degrees Fahrenheit for 8 minutes from refrigerated. If you prefer a fresher crust, freeze raw breaded tenders on a tray then transfer to freezer bags and cook from frozen, adding a few extra minutes to the frying time and monitoring internal temperature carefully.
These tenders are simple, dependable, and adaptable. Try the optional dry brine and egg white whip for the best crunch and a tender interior. Enjoy the ritual of frying and the reward of a plateful of crunchy, satisfying tenders to share.
Dry brine uncovered in the refrigerator for up to 4 hours to firm the surface and help seasoning penetrate.
Whip the egg whites until frothy to create a light adhesive layer that grips breading without heaviness.
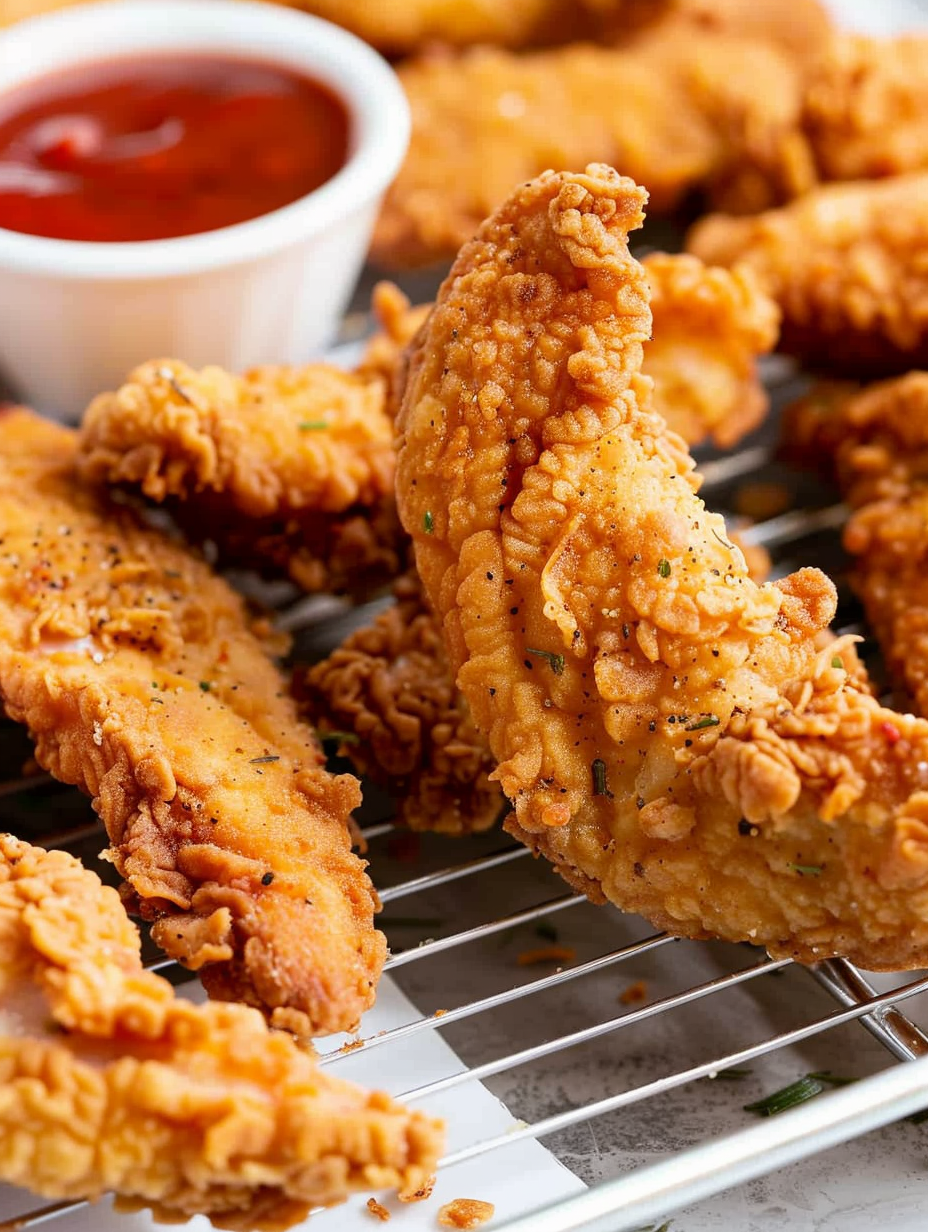
Keep finished tenders on a wire rack over a baking sheet and in a 200 degrees Fahrenheit oven to stay warm and crisp.
This nourishing extra crispy fried chicken tenders recipe is sure to be a staple in your kitchen. Enjoy every moist, high protein slice — it is perfect for breakfast or as a wholesome snack any time.
Yes. You can air fry at 375 degrees Fahrenheit for 6 minutes, flip, spray with oil, then 3 to 4 more minutes. Check for 165 degrees Fahrenheit internal temperature.
Use an instant read thermometer inserted into the thickest part of a tender. It should read 165 degrees Fahrenheit.
This EXTRA CRISPY Fried Chicken Tenders recipe makes perfectly juicy, tender, and flavorful steak every time! Serve with potatoes and a side salad for an unforgettable dinner in under 30 minutes.
Arrange wire cooling racks over rimmed baking sheets and preheat oven to 200 degrees Fahrenheit for holding cooked tenders. Having these ready prevents soggy results and keeps finished pieces warm.
Slice breasts into strips approximately 3 4 inch thick and 5 inches long. Pat strips completely dry to ensure the coating adheres and seasons penetrate.
Season lightly with kosher salt and black pepper then place uncovered in the refrigerator for up to 4 hours. Remove from fridge 20 minutes before frying to reduce cold spots.
Combine flour, breadcrumbs, seasoned salt, paprika, cayenne, and black pepper in a shallow dish. Whip egg whites until frothy in a separate bowl to act as a light adhesive.
Cover strips with plastic wrap and use the rough side of a meat mallet to create a roughened surface. This helps the breading cling and increases surface area for crisping.
Dip each strip into the whipped egg whites then press into the breading mix so all sides are evenly covered. Set on a rack while oil heats to prevent sogginess.
Heat canola oil to 350 375 degrees Fahrenheit in a Dutch oven or fryer. Fry tenders in small batches for about 4 minutes per side until golden and internal temperature reaches 165 degrees Fahrenheit.
Transfer cooked tenders to prepared racks and keep warm in a 200 degrees Fahrenheit oven if needed. Serve with desired dipping sauces and check internal temperature before serving.
Last Step: Please leave a rating and comment letting us know how you liked this recipe! This helps our business to thrive and continue providing free, high-quality recipes for you.
Leave a comment & rating below or tag
@yummique on social media!

Tender grilled zucchini wraps basil ricotta, bathed in marinara and mozzarella, baking into a bubbly, lighter Italian comfort dinner ready in 30 minutes.

Crisp-edged, tender-in-the-middle zucchini and yellow squash made in 15 minutes with pantry spices. A vibrant, veggie-forward side everyone devours.

Tender chicken meatballs simmered in rich marinara and blanketed with melty mozzarella, bringing all the flavors of chicken parm in cozy, bite-sized form.
Leave a comment & rating below or tag @yummique on social media!
Enjoyed this recipe? Share it with friends and family, and don't forget to leave a review!
This recipe looks amazing! Can't wait to try it.
Comments are stored locally in your browser. Server comments are displayed alongside your local comments.

Join to receive our email series which contains a round-up of some of our quick and easy family favorite recipes.
