
>>

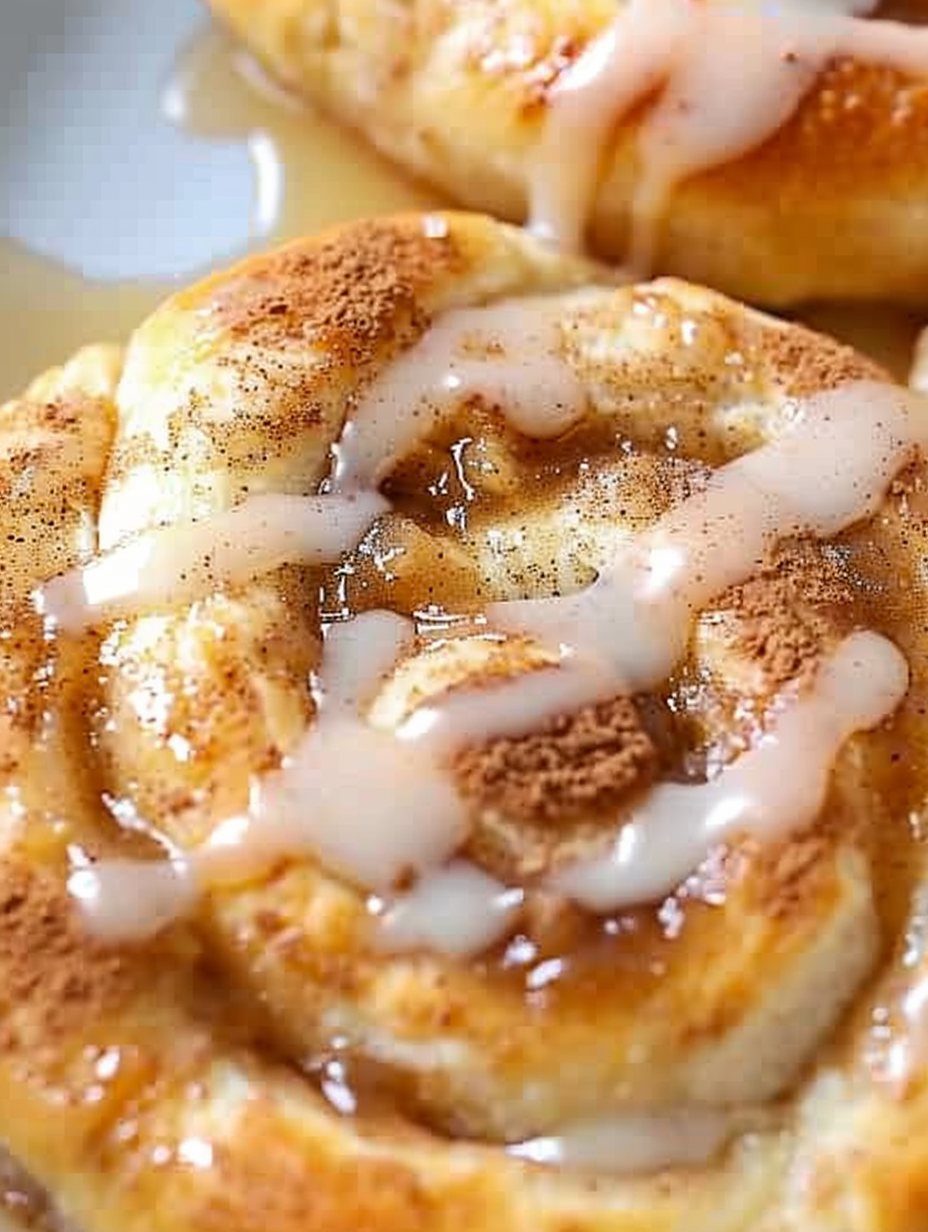
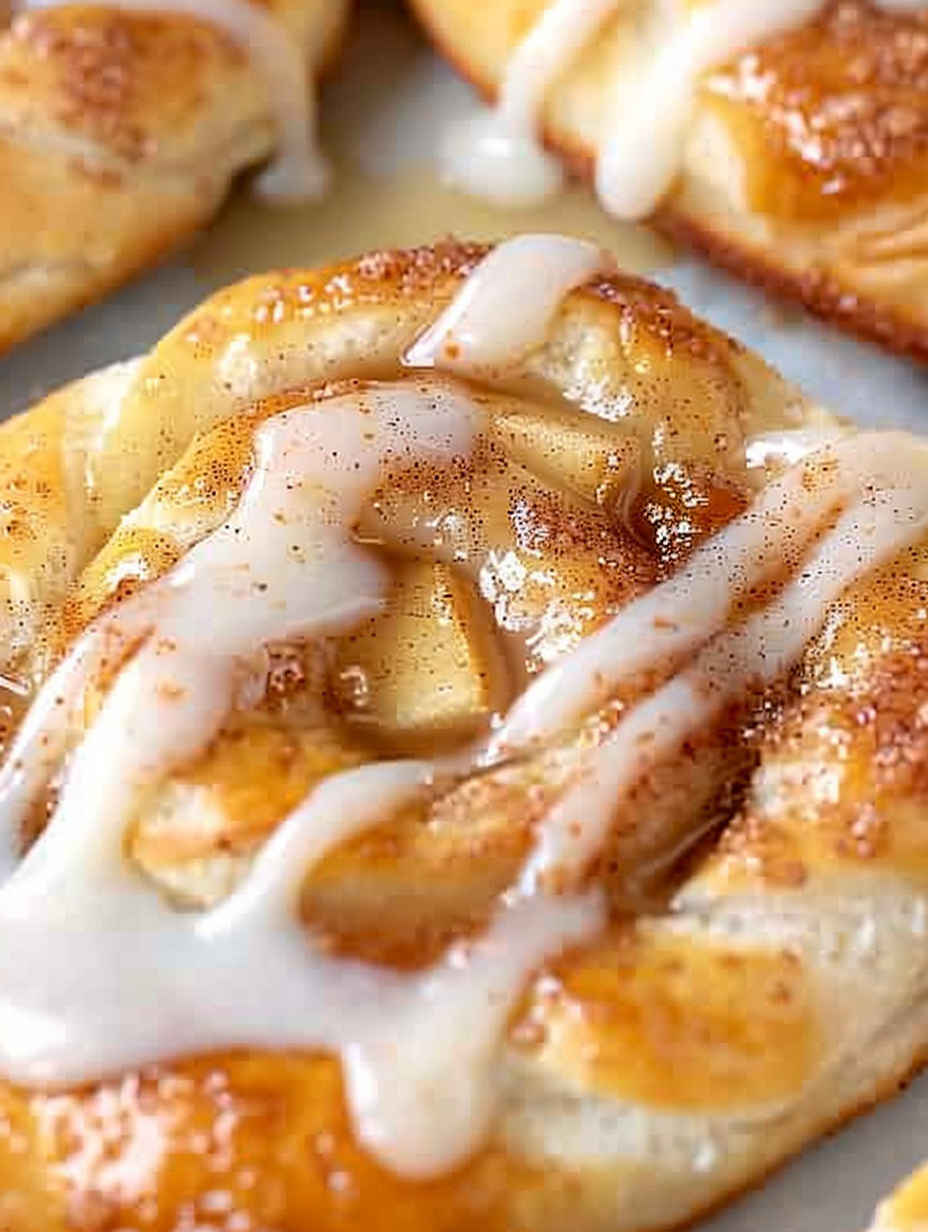
Flaky, buttery apple danishes made from crescent rolls, filled with apple pie filling and finished with a simple vanilla glaze — an effortless crowd-pleasing dessert or breakfast treat.

This recipe for Easy Apple Danishes started as one of those happy accidents on a busy weekend when I wanted something that tasted bakery-fresh without the fuss of making laminated dough. I first made these for a family brunch years ago, using store-bought crescent roll dough and a handy can of apple pie filling. The result — warm, tender coils of buttery pastry wrapped around cinnamon-scented apple pieces and drizzled with sweet glaze — became an instant favorite. They are the kind of treat that melts childhood memories with the comfort of a homemade batch and, honestly, disappear faster than I can plate them.
What I love most is how approachable these are: no special equipment, no advanced techniques, just a few smart tips to get the crescent dough to bake up golden and flaky. The contrast between the slightly crisp exterior, the soft interior layers of the dough, and the tender apple filling is irresistible. I often make a double batch for company because guests love watching them coil into their swirled shapes on the sheet pan. These danishes are great for slow weekend breakfasts, a simple dessert after dinner, or packaged in a box for a neighbor — and they always feel a little indulgent despite being so easy.
I remember the first time I brought these to a family breakfast: my niece asked if they were from a bakery and then asked for the recipe. Since then, these have been my go-to when I want to impress with minimal effort. The cinnamon sugar step and the buttery brush before rolling are small touches that make a big difference in flavor and texture.
My favorite part about making these is how they bring people together: I often catch my partner sneaking one straight from the pan, and neighbors always smile when I bring a warm box over. The cinnamon sugar and slight chew of the apple pieces create a combination that feels nostalgic — like a school-bake sale treat upgraded for grown-up tastes.
Store completely cooled pastries in an airtight container at room temperature for up to 24 hours; for longer storage, refrigerate for up to 3 days. If refrigerating, place a sheet of parchment between layers to prevent sticking. To reheat, preheat the oven to 325°F and warm danishes for 5–8 minutes — this helps restore crisp edges without drying out the filling. For freezing, place unglazed danishes on a baking sheet spaced apart, flash-freeze until solid, then transfer to a freezer bag for up to 3 months. Bake from frozen at 350°F for an extra 3–6 minutes, then add glaze once warm.
For a dairy-free variation, substitute melted vegan butter or coconut oil and choose a vegan crescent dough if available. To reduce sugar, use a reduced-sugar apple filling or fresh diced apples tossed with 1 tablespoon maple syrup and 1/2 teaspoon cinnamon; par-cook these apples in a skillet for 3–4 minutes to soften. If you need gluten-free, look for a commercial gluten-free crescent dough or make small puff-pastry rounds from packaged gluten-free puff pastry. Swap vanilla extract in the glaze for almond extract for a nuttier note — use sparingly as almond is potent.
Serve warm with a spoonful of vanilla ice cream for dessert, or pair with strong coffee for breakfast. Garnish with a light dusting of powdered sugar and a few toasted chopped walnuts or pecans for texture. For brunch presentations, place danishes on a wooden board with seasonal fruit and a pitcher of warm cider. Leftovers make a quick dessert when reheated and topped with whipped cream or a scoop of yogurt for a lighter accompaniment.
While classic danishes originate in European pastry traditions that involve laminated dough, these simplified coils have become a modern American shortcut inspired by Scandinavian and Central European influences. Using crescent roll dough is a popular adaptation in family kitchens across the United States because it captures a similar layered effect with far less effort. Apple as a filling nods to the apple-pie tradition — comforting, familiar, and widely loved in American home baking.
Fall is the perfect time to use fresh, firm apples such as Honeycrisp or Granny Smith, lightly cooked with a touch of maple and nutmeg. In winter, swap the apples for cranberry-pear compote and add orange zest to the glaze. For spring and summer, use a berry compote or sliced peaches tossed with lemon and a pinch of ginger. For holiday flashes, stir in a tablespoon of bourbon or rum into the apple filling for a warmer flavor profile.
If you make these for a crowd, assemble the coils the night before and keep them covered in the refrigerator; bring to room temperature while the oven preheats and bake as directed. Prepare the glaze and store it in a small jar in the fridge — warm briefly before drizzling. For grab-and-go breakfasts, portion danishes into individual airtight containers and refrigerate; reheat for a few minutes in a toaster oven. This approach saves time and keeps mornings calm while still delivering a fresh-baked treat.
These danishes are a small, joyful way to share warmth and simple pleasures with friends and family. Try making a batch this weekend and tweak the filling to make it your own — the method is forgiving and the results are reliably delightful.
Seal the crescent perforations thoroughly so the rolls hold their shape while baking.
If the apple filling is very syrupy, drain excess liquid to avoid soggy centers.
Warm the glaze slightly if it stiffens after refrigeration so it thins to a drizzle.
Flash-freeze unglazed danishes before storing in freezer bags to prevent sticking.
This nourishing easy apple danishes recipe is sure to be a staple in your kitchen. Enjoy every moist, high protein slice — it is perfect for breakfast or as a wholesome snack any time.
This Easy Apple Danishes recipe makes perfectly juicy, tender, and flavorful steak every time! Serve with potatoes and a side salad for an unforgettable dinner in under 30 minutes.
Preheat oven to 350°F (175°C). Line a baking sheet with parchment paper or spray with nonstick spray. Make sure the oven is fully heated before baking for consistent results.
Open both tubes of crescent dough, pair triangles two by two along long edges to create eight rectangles. Press the perforations firmly to seal so the dough doesn't open during baking.
Brush each rectangle evenly with melted butter. Mix 2 tablespoons sugar with 1 teaspoon cinnamon and sprinkle lightly over the buttered surface to promote caramelized flavor.
Roll each rectangle from the long side into a tight log, pinch ends to seal, then loosely coil into a snail shape with a small well in the center for the filling.
Chop apple slices from the can into smaller pieces and spoon about 2 to 3 tablespoons into the center of each coil. If the filling is very syrupy, drain excess liquid to prevent sogginess.
Bake at 350°F for 15–18 minutes until golden brown and the pastry layers are set. Allow the danishes to cool slightly on the pan before glazing.
Whisk together powdered sugar, vanilla, and 3–4 teaspoons milk until smooth. Drizzle over warm danishes and serve. Adjust milk to achieve desired drizzle consistency.
Last Step: Please leave a rating and comment letting us know how you liked this recipe! This helps our business to thrive and continue providing free, high-quality recipes for you.
Leave a comment & rating below or tag
@yummique on social media!

Tender grilled zucchini wraps basil ricotta, bathed in marinara and mozzarella, baking into a bubbly, lighter Italian comfort dinner ready in 30 minutes.

Crisp-edged, tender-in-the-middle zucchini and yellow squash made in 15 minutes with pantry spices. A vibrant, veggie-forward side everyone devours.

Tender chicken meatballs simmered in rich marinara and blanketed with melty mozzarella, bringing all the flavors of chicken parm in cozy, bite-sized form.
Leave a comment & rating below or tag @yummique on social media!
Enjoyed this recipe? Share it with friends and family, and don't forget to leave a review!
This recipe looks amazing! Can't wait to try it.
Comments are stored locally in your browser. Server comments are displayed alongside your local comments.

Join to receive our email series which contains a round-up of some of our quick and easy family favorite recipes.
