
>>

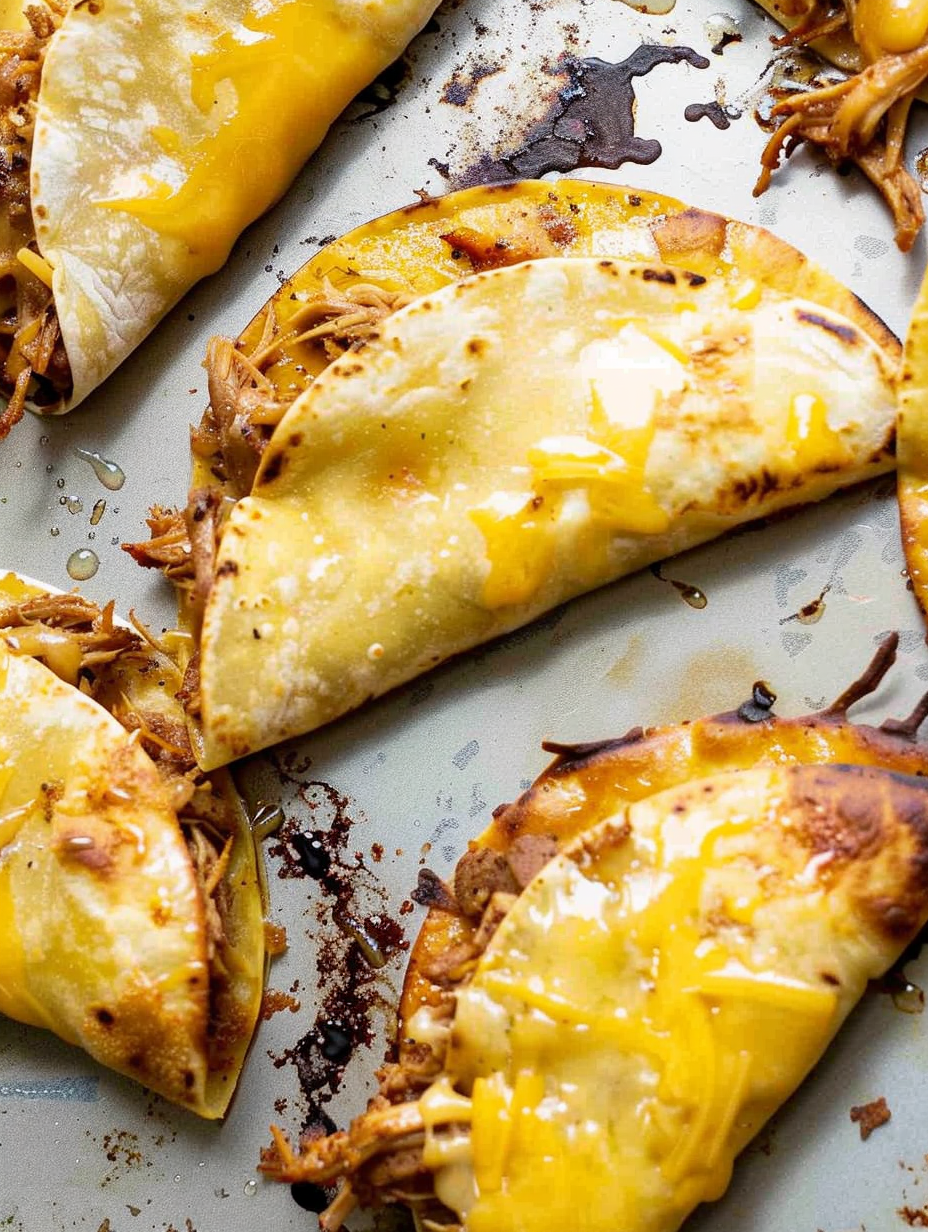
Ridiculously easy crispy chicken tacos that combine the best elements of tacos, taquitos, and nachos—shredded seasoned chicken and scandalous amounts of melted cheese baked until golden and crunchy.
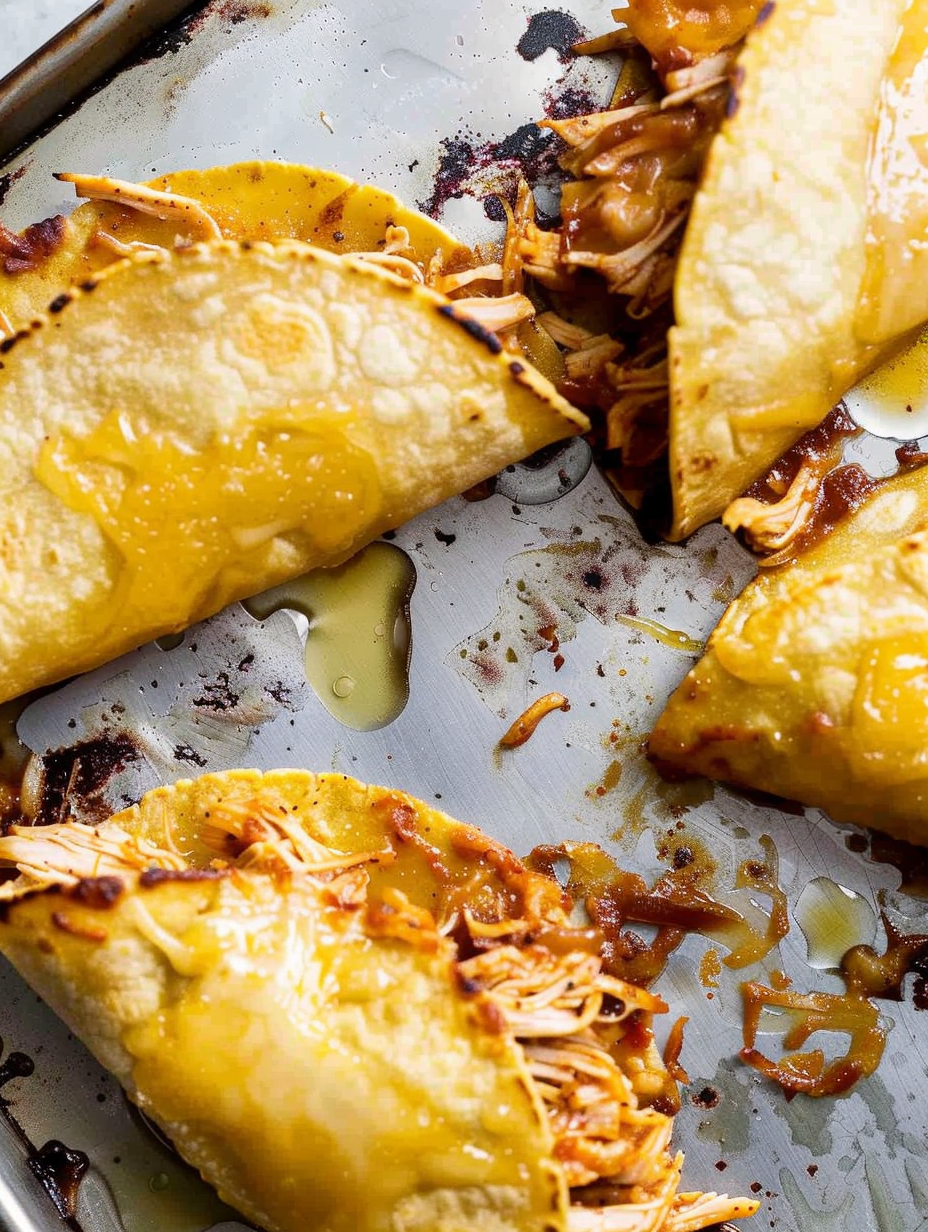
This riff on crunchy handhelds became an instant weekday favorite the first time I tested it in a hurried weeknight kitchen. I discovered the combination when I had leftover shredded chicken and an overambitious bag of tortillas. I wanted something that delivered big flavor with minimal hands-on time. The result is a hybrid that hits all the right textures and tastes: tender, seasoned chicken snugged between two corn tortillas and loaded with melting Monterey Jack, then baked until the shells and escaped cheese are deeply golden and crisp. It is the kind of comfort food that leaves everyone at the table grinning and reaching for seconds.
What makes these particularly special is how approachable they are as a family meal or party snack. They are fast to assemble, forgiving with ingredients, and rewarding in the payoff. The tortillas blister and harden like perfectly toasted taquitos while the interior stays juicy and cheesy. Crisp edges of browned cheese on the baking sheet become irresistible little chips. I keep the seasoning simple so the cheese and lime finish shine through. Over the years I have served these to picky eaters, busy friends, and even for casual date nights. They hit the sweet spot between snackable and substantial.
In my home these quickly replaced takeout tacos because they give that satisfying crisp without deep frying. My partner especially loves the crunchy cheese edges and my kids enjoy adding their own toppings. Once I introduced a creamy chipotle sauce for dipping, the recipe became a permanent rotation.

My favorite aspect of these tacos is the two-texture experience. The interior stays melty and juicy while the exterior becomes delightfully crisp. One time I served them at a casual gathering and people were fighting over the browned cheese chips left on the pan. Those crispy bits are a small reward for anyone willing to get a spatula and do a little extra scraping.
To refrigerate, cool the fully baked items completely, then arrange in a single layer separated with parchment paper in an airtight container. They will keep for up to three days. For longer storage, freeze on a tray until firm, then transfer to a freezer bag or foil-wrapped stack and label with the date for up to three months. Reheat from frozen at 375 degrees Fahrenheit on a baking sheet for 12 to 18 minutes, flipping halfway through, until hot and crisp. Avoid microwaving if you want to keep the crunchy texture.
You can swap corn tortillas for small flour tortillas if you prefer a softer chew; brush them with oil the same way and watch baking times as flour tortillas may brown faster. Substitute shredded pepper Jack for Monterey Jack to add heat, or use a mild cheddar for a more pronounced flavor. For a dairy-free option, use a plant-based melting shreds alternative and be mindful that the texture and browning will differ. Swap chicken for shredded pork or jackfruit for a vegetarian take, and adjust seasoning to complement the protein.
Serve on a large platter with lime wedges and a toppings bar that includes sliced avocado, pico de gallo, chopped cilantro, shredded lettuce, sour cream, and hot sauce. For a balanced plate, pair with a simple cabbage slaw dressed with lime and a pinch of sugar or a side of black beans and Mexican rice. Garnish with extra grated cheese and a drizzle of creamy chipotle for a smoky finish. These are also great alongside a crisp beer or a citrusy margarita for adults.
These crunchy folded corn tortillas are an Americanized play on traditional Mexican handhelds. They borrow elements from tacos, taquitos, and nachos: the seasoned chicken and cheese nod to classic taco fillings; the baking and crisping echo taquitos; and the browned cheese edges recall nacho toppings. The combination honors Mexican flavors like cumin, chili, and lime while leaning into American convenience and oven-based crisping. This hybrid approach reflects how home cooks adapt heritage dishes to modern pantry realities.
In summer, top with fresh corn kernels, diced heirloom tomatoes, and a squeeze of lime for bright seasonal flavor. In winter, swap the chicken for shredded confit or braised poultry for deeper richness and serve with a warm bean salad. For spring, add quick-pickled red onions to cut through the richness. Holiday gatherings welcome heartier toppings like roasted poblano strips and roasted sweet potatoes to make a festive variation.
For streamlined weekday cooking, pre-shred and season the chicken up to two days ahead and store it covered in the refrigerator. Pre-grate the cheese and oil the tortillas the night before, then assemble and bake on demand. If you plan to bake a large batch, rotate half sheet pans halfway through cooking for even browning. Use parchment-lined pans for easier cleanup and to preserve the irresistible browned cheese pieces.
This recipe rewards small adjustments and personalizations. Whether you keep it classic or dress it up, these crunchy tacos are simple to make and deliver a satisfying combination of textures and flavors. Share them with friends or tuck a few into meal prep containers; either way they will quickly become a dependable favorite.
Warm tortillas until pliable before filling to prevent cracking and ensure a neat fold.
Brush tortillas with oil on both sides for even browning and crispness instead of spraying only one side.
Flip the tacos halfway through baking so both sides develop golden color and the cheese on the pan becomes crunchy.
Use a thin metal spatula to flip and to scrape up and serve the browned cheese chips from the pan.
This nourishing crispy chicken tacos recipe is sure to be a staple in your kitchen. Enjoy every moist, high protein slice — it is perfect for breakfast or as a wholesome snack any time.
Store fully baked tacos in an airtight container in the refrigerator for up to three days. Reheat in a 375°F oven for 6 to 8 minutes to crisp.
Yes. You can freeze fully baked tacos on a tray until firm, then transfer to a freezer bag for up to three months. Reheat from frozen in the oven.
This Crispy Chicken Tacos recipe makes perfectly juicy, tender, and flavorful steak every time! Serve with potatoes and a side salad for an unforgettable dinner in under 30 minutes.
Preheat oven to 450°F and place two half sheet pans on the middle rack. Lightly grease pans with nonstick spray or a thin layer of oil to prevent sticking.
Toss 4 cups of shredded cooked chicken with 2 tablespoons of chicken taco seasoning in a mixing bowl until evenly coated. Adjust seasoning to taste and add a splash of lime if needed.
Wrap 14 corn tortillas in a damp towel and microwave on high 30 seconds to 1 minute until pliable. Keep warm so they do not crack during folding.
Brush one tortilla on both sides with olive oil, then stack another on top and brush the top side. Continue until all tortillas are lightly oiled for even browning.
Place a tortilla on the greased pan. Add 2 tablespoons shredded cheese to one half, 1/4 cup seasoned chicken, and another 2 tablespoons cheese. Fold over and press gently. Flip the filled taco so the seam side is down and space them on the sheet.
Bake 8 to 10 minutes until the bottoms are golden. Use a thin spatula to flip each taco and bake another 8 to 10 minutes until crispy and the escaped cheese is deep golden brown.
Let rest 3 minutes to continue crisping. Squeeze fresh lime juice over tacos and serve with desired toppings.
Last Step: Please leave a rating and comment letting us know how you liked this recipe! This helps our business to thrive and continue providing free, high-quality recipes for you.
Leave a comment & rating below or tag
@yummique on social media!

Tender grilled zucchini wraps basil ricotta, bathed in marinara and mozzarella, baking into a bubbly, lighter Italian comfort dinner ready in 30 minutes.

Crisp-edged, tender-in-the-middle zucchini and yellow squash made in 15 minutes with pantry spices. A vibrant, veggie-forward side everyone devours.

Tender chicken meatballs simmered in rich marinara and blanketed with melty mozzarella, bringing all the flavors of chicken parm in cozy, bite-sized form.
Leave a comment & rating below or tag @yummique on social media!
Enjoyed this recipe? Share it with friends and family, and don't forget to leave a review!
This recipe looks amazing! Can't wait to try it.
Comments are stored locally in your browser. Server comments are displayed alongside your local comments.

Join to receive our email series which contains a round-up of some of our quick and easy family favorite recipes.
