
>>

A no-cook, colorful holiday treat that tastes like red velvet cake. Easy to make, chill, and share—perfect for festive gatherings and cookie plates.
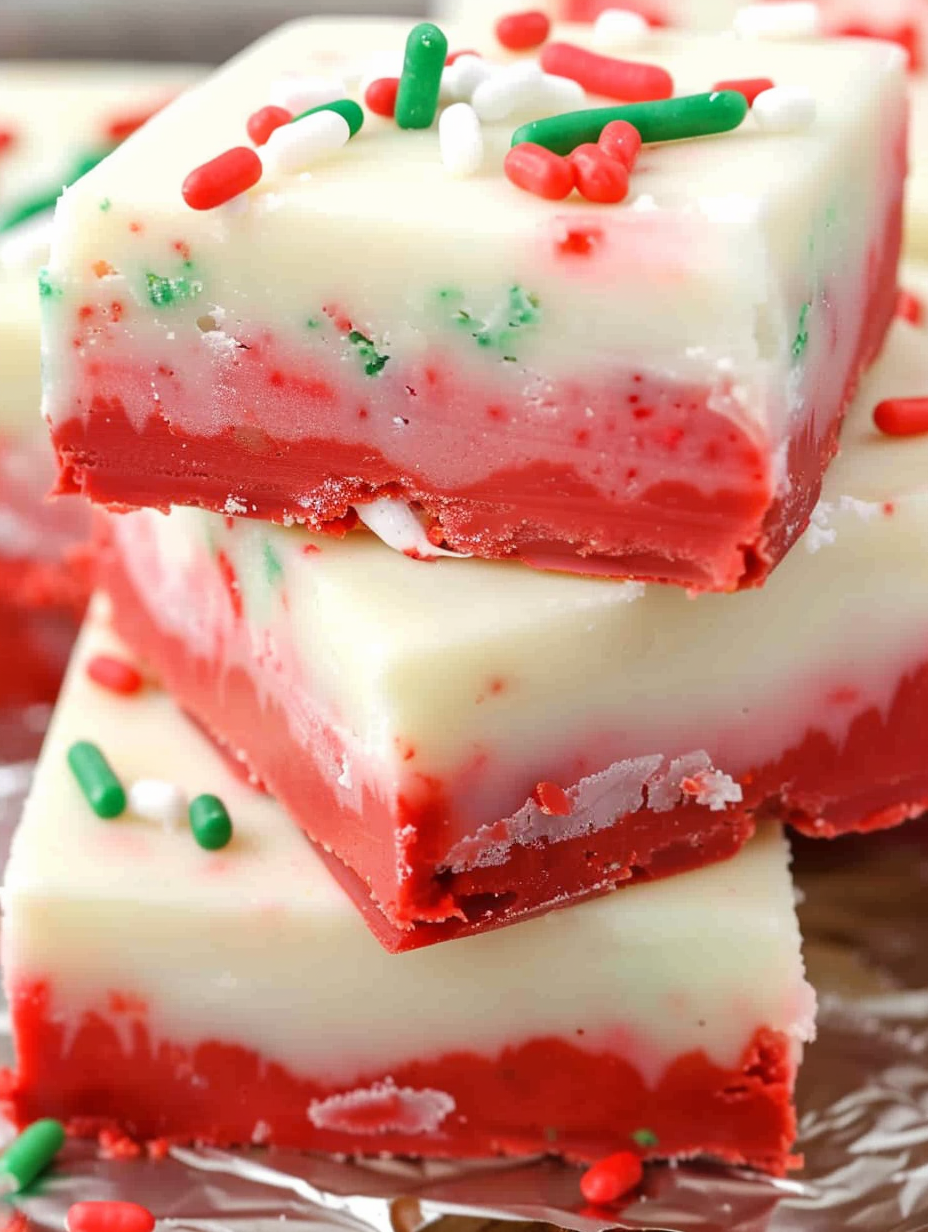
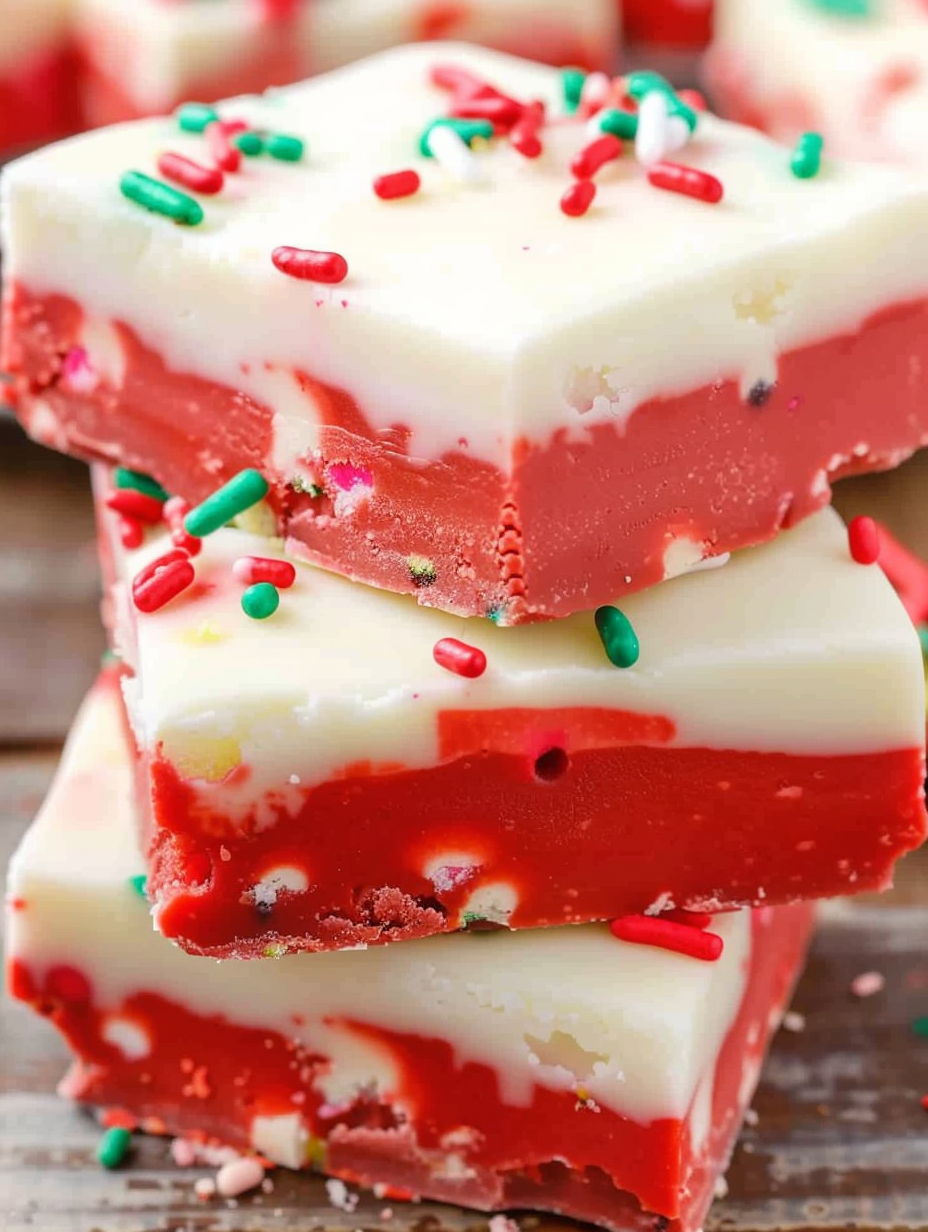
This Christmas Cake Batter Fudge is my holiday shortcut to a crowd pleasing sweet that looks festive and tastes like red velvet cake. I discovered this combination one December when I wanted something different for a cookie swap but had almost no baking energy. The idea of taking white chocolate, a splash of sweetened condensed milk, and two simple boxed cake mixes felt indulgent and wonderfully easy. The result was a silky, creamy square that sliced neatly and kept well in an airtight tin, which quickly earned it a permanent spot on my seasonal dessert table.
What makes this treat special is the texture contrast and the playful presentation. The white chocolate creates a dense, melt-in-your-mouth base while the cake mixes add that familiar cake batter tang and color without any oven time. Everyone always asks whether I actually baked a cake to get that flavor. This recipe is also forgiving, which is ideal during busy holidays when time and attention are limited. I like to make it with kids in the kitchen because stirring, layering, and sprinkling are safe and fun tasks that result in a dessert that looks store-bought but tastes homemade.
I first brought this to a small family brunch and watched skeptical faces turn into delighted smiles with the first bite. My niece declared it the best fudge she had ever tasted and asked me to make it every December. Over the years I learned small tricks, like lining the pan with foil for easy removal, and splitting the melted chocolate for a distinct layered look that keeps the colors from bleeding together.
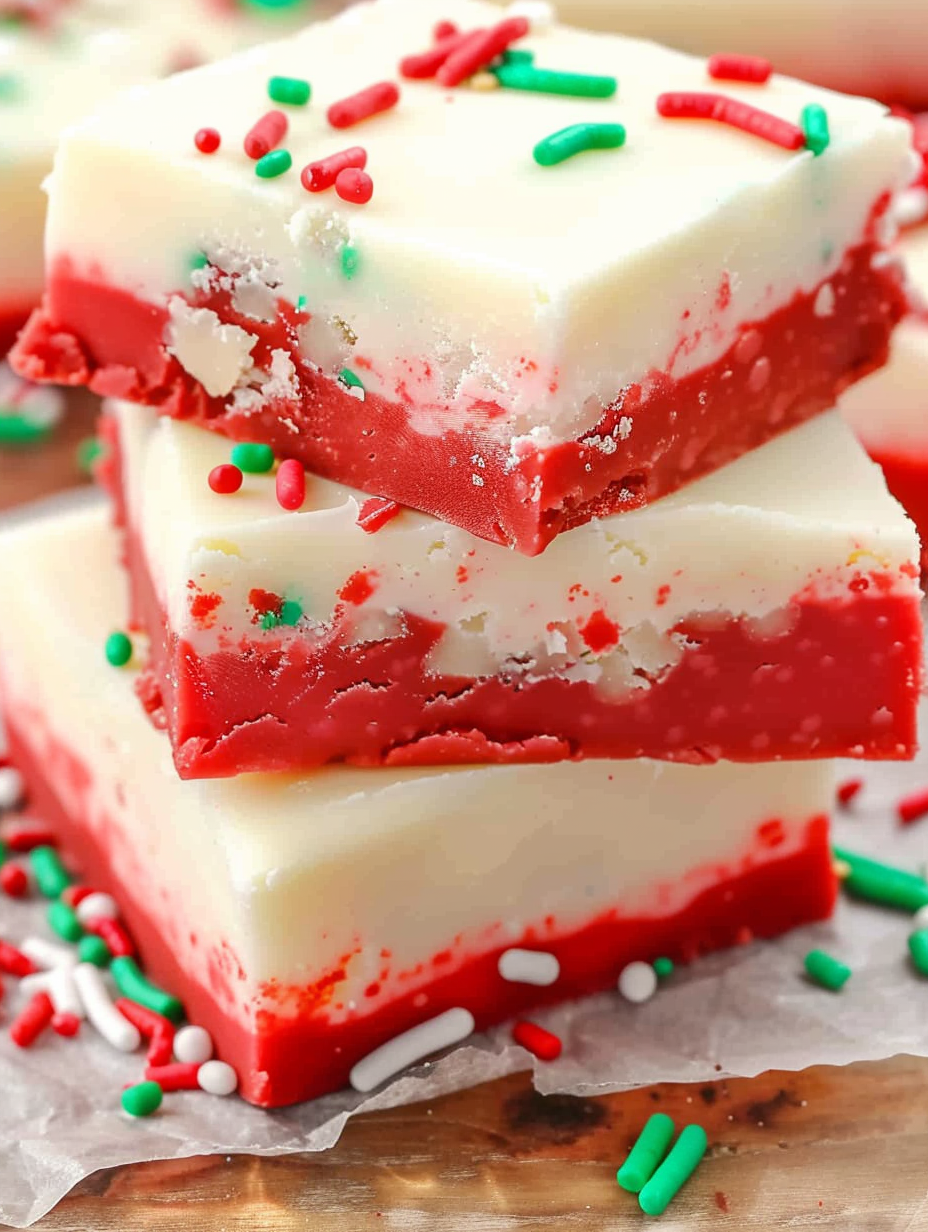
My favorite aspect of this tray is how small changes make a big visual impact. Swapping the sprinkles or piping a thin drizzle of melted dark chocolate adds sophistication. During one holiday gathering I made three pans with different sprinkles and the colorful display disappeared within an hour. Families love the bright look and children love the sweetness, which makes it perfect for holiday cookie exchanges and teacher gifts.
Store the squares in a single layer in an airtight container. If you need to stack layers separate them with parchment or wax paper to prevent sticking and preserve the sprinkle decoration. Keep the container in the refrigerator where the fudge stays firm but still yields easily when bitten. For longer storage wrap the block tightly in plastic wrap and place in a freezer safe bag. Thaw in the refrigerator overnight before slicing to maintain smooth texture. Avoid room temperature storage for more than a few hours in warm climates because the white chocolate can soften and lose shape.
If you want to change the flavor profile swap the red velvet cake mix for chocolate cake mix to create a classic chocolate layered look. You can replace the white cake mix with yellow or almond flavored cake mix for a nutty nuance. For a dairy free version use dairy free white chocolate alternatives and a plant based condensed milk substitute, though texture will be slightly different and chilling time may vary. If you prefer a less sweet profile reduce the sprinkles and add a small pinch of coarse sea salt to the white layer for contrast.
Arrange squares on a festive platter alongside peppermint bark and gingerbread for an attractive holiday display. Garnish individual squares with a tiny edible gold flake or a single red sugar pearl for a refined look when serving at dinner parties. These squares pair nicely with strong coffee or hot chocolate. For a dessert board, serve them with fresh berries and nuts for a balance of sweet and tart. They are also ideal for packaging in small boxes as hostess gifts or stocking fillers.
Layered candy inspired by cake batter flavors taps into a broader confectionery tradition of transforming cake into candy without baking. The idea of using boxed mixes to impart flavor and color has roots in home cook creativity, where convenience products are repurposed to produce new treats. Combining sweetened condensed milk with chocolate dates back to classic confection recipes, and the layered style evokes iced layer cakes from American holiday tables that emphasize bright seasonal presentation.
For winter holidays stick with red white and green sprinkles or add crushed peppermint candy for minty notes. In spring swap red velvet for strawberry cake mix and use pastel sprinkles for Easter. For Fourth of July celebrations use blueberry powder or a small amount of blue food coloring in one layer and patriotic sprinkles on top. Adjust garnish and color to match any occasion, keeping the simple assembly the same year round.
To meal prep for gatherings make multiple pans at once, stacking them in the refrigerator with care once the tops are fully set. Pre slice a day ahead and store pieces in single layers for quick plating. Because the squares keep well you can prepare them up to ten days ahead, freeing up oven time for other holiday dishes. Assemble the melted base and split into separate bowls to add different cake mixes and create a variety pack of flavors in one session.
Making this colorful candy has become a holiday ritual for me, one that invites helpers and creates a sense of anticipation each year. Give it a try and personalize the toppings and flavors to make it your family favorite.
Line the pan with foil leaving an overhang for easy removal and cleaner slicing.
Microwave in thirty second bursts and stir between intervals to prevent overheating or burning the white chocolate.
If the white layer spreads into the red layer, chill the red layer for five minutes before adding the white on top to firm it slightly.
Use nonpareil or small disc sprinkles that hold color in the refrigerator and do not bleed onto the surface.
For sharper slices chill until completely set and run a sharp knife under hot water then dry before slicing each time.
This nourishing christmas cake batter fudge recipe is sure to be a staple in your kitchen. Enjoy every moist, high protein slice — it is perfect for breakfast or as a wholesome snack any time.
Yes, the squares freeze well for up to three months. Wrap the block tightly in plastic then place in a freezer safe bag. Thaw in the refrigerator overnight before cutting.
Use a sharp knife and wipe the blade between cuts. Lifting the set block out of the pan using foil overhangs makes slicing easier and neater.
Stir the cake mix in until fully combined and smooth, and if the mixture seems too stiff add up to one teaspoon more sweetened condensed milk at a time.
Recipe data validation failed
Please check the recipe data format. See console for details.

Tender grilled zucchini wraps basil ricotta, bathed in marinara and mozzarella, baking into a bubbly, lighter Italian comfort dinner ready in 30 minutes.

Crisp-edged, tender-in-the-middle zucchini and yellow squash made in 15 minutes with pantry spices. A vibrant, veggie-forward side everyone devours.

Tender chicken meatballs simmered in rich marinara and blanketed with melty mozzarella, bringing all the flavors of chicken parm in cozy, bite-sized form.
Leave a comment & rating below or tag @yummique on social media!
Enjoyed this recipe? Share it with friends and family, and don't forget to leave a review!
This recipe looks amazing! Can't wait to try it.
Comments are stored locally in your browser. Server comments are displayed alongside your local comments.

Join to receive our email series which contains a round-up of some of our quick and easy family favorite recipes.
