
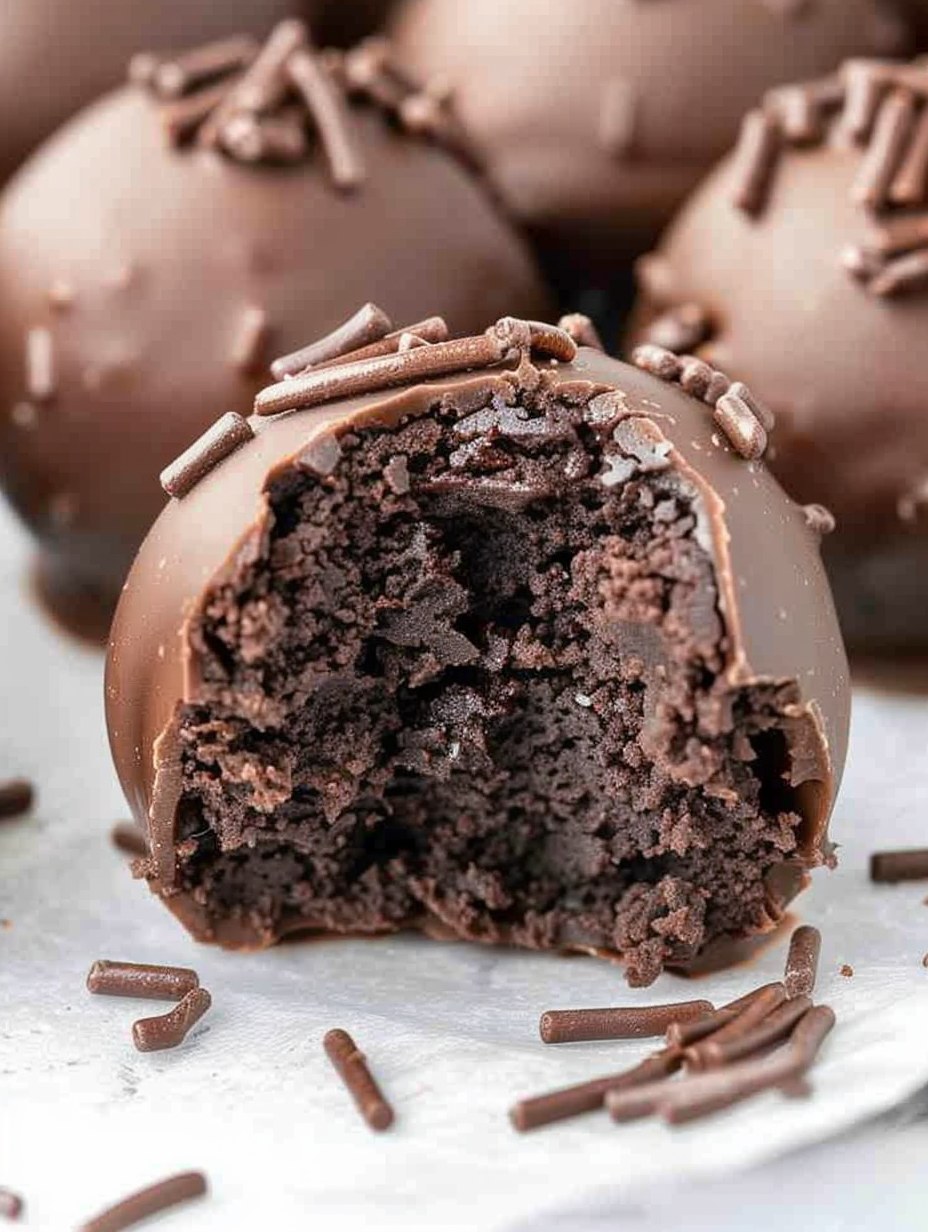
Chocolate Cheesecake Truffles

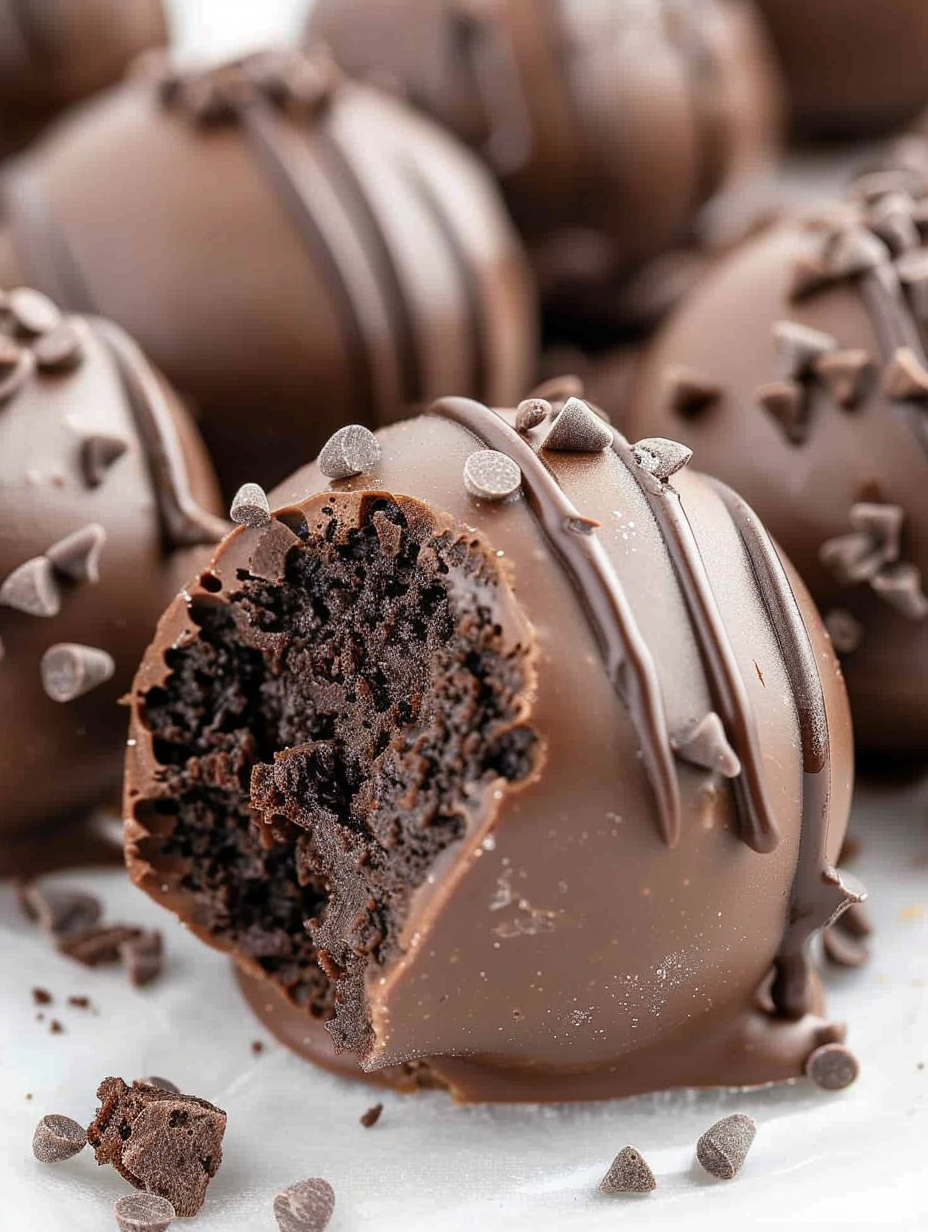
Decadent chocolate cheesecake bites with a creamy cream cheese and cake mix center, dipped in a rich chocolate shell—perfect for potlucks or indulgent snacking.
Why You'll Love This Recipe
- Ready with just 10 minutes of hands-on time and a two hour chill, making it ideal for last-minute hosting or make-ahead treats for busy days.
- Uses pantry-friendly boxed cake mix and simple staples like cream cheese and chocolate almond bark, so you can often assemble from what you already have.
- Produces approximately 26 uniform bites when using a 1 tablespoon scoop, perfect for sharing at potlucks or gifting in small boxes.
- The texture contrast between the creamy center and crisp chocolate shell is sophisticated but simple to achieve with no tempering required.
- Flexible to dietary swaps and flavor variations; swap the almond bark for dark chocolate or white coating for a different profile.
- Low-effort technique: the microwave method for melting and heat-treating speeds the process without sacrificing taste or safety.
From the first time I served these, family members kept asking for the recipe. At holiday parties they vanish before the main course. One friend asked me to make three batches for her bridal shower because guests kept requesting more. They are forgiving to make and look special on a dessert platter—tiny, decadent, and perfect with coffee or a glass of dessert wine.
Ingredients
- Chocolate fudge cake mix (15.25 ounces): Choose a high-quality boxed mix like Duncan Hines or Pillsbury for deep cocoa flavor; the dry mix provides structure and chocolate intensity to the center.
- Cream cheese (8 ounces), softened: Use full-fat brick-style cream cheese, not the spreadable tub, and bring to room temperature for smooth mixing and a silky mouthfeel.
- Chocolate almond bark (8 ounces): This coating melts easily and sets with a nice sheen; choose a brand with real cocoa butter for the best taste or use compound melting wafers for convenience.
- Chocolate sprinkles (2 tablespoons): Decorative finishing touch; fine sprinkles adhere well to warm coating and add texture contrast and visual appeal.
Instructions
Heat-treat the dry mix: Pour the 15.25 ounce dry chocolate fudge cake mix into a microwave-safe mixing bowl. Heat in the microwave in two 30-second intervals, stirring well after each interval. This reduces any bacteria risk from dry mixes. Allow the mix to cool completely to room temperature before combining with the cream cheese to avoid melting or clumping. Soften and whip the cream cheese: Place 8 ounces of softened cream cheese in a medium mixing bowl. Using a handheld mixer on medium-high speed, beat for 2 to 2 1/2 minutes until the texture is completely smooth and airy. Properly softened cream cheese avoids lumps and ensures a cohesive center. Combine cake mix and cream cheese: Sprinkle the cooled dry cake mix over the whipped cream cheese, then mix on low speed just until incorporated. Overmixing can toughen the mixture; stop once the color is uniform and the dough holds together when pressed. Chill the dough: Tightly cover the bowl with plastic wrap and chill in the refrigerator for 2 hours. Chilling firms the dough for easy scooping and allows the cake mix to rehydrate slightly for a better interior texture. Shape the bites: Line a baking sheet with parchment paper. Use a 1 tablespoon scoop to portion the chilled dough, roll each portion into a smooth ball with lightly oily or cooled hands to prevent sticking, and place on the sheet. You should yield about 26 bites. Melt the coating: Place 8 ounces of chocolate almond bark in a microwave-safe bowl. Heat in 30-second intervals, stirring between each, until fully melted and smooth. Avoid overheating which can cause graininess; if needed, stir off heat to finish melting. Coat the truffles: Using a fork, dip each cheesecake ball into the melted almond bark, tapping the fork gently against the bowl to remove excess. If any spots are bare, use a spoon to drizzle additional coating. Place the coated truffles back onto the parchment-lined sheet. Decorate and chill: Immediately sprinkle chocolate sprinkles over the warm coating so they adhere. Once all are coated, refrigerate until the coating is fully set and the centers are firm, at least 30 minutes to 1 hour before serving.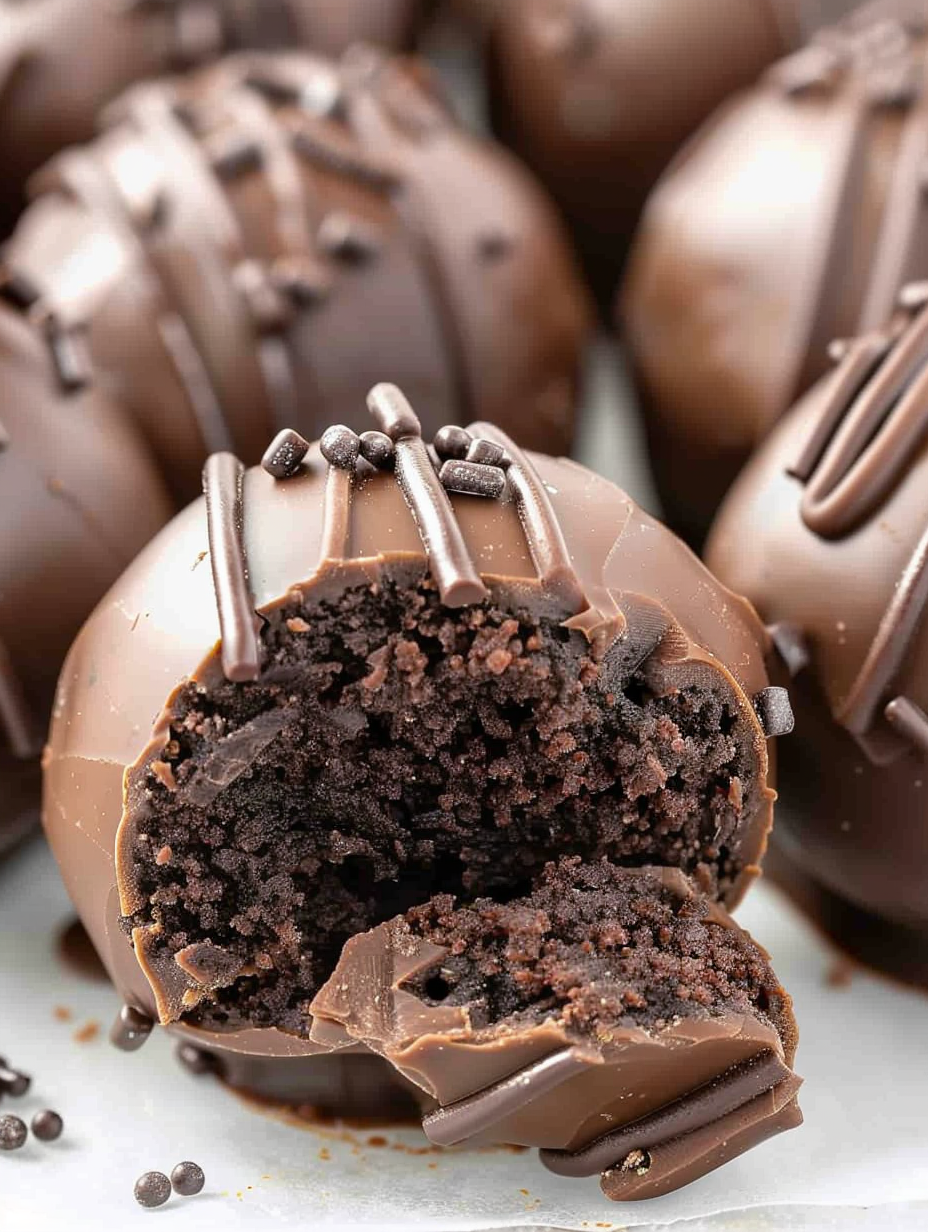
You Must Know
- These bites keep refrigerated for up to one week when stored in an airtight container layered with parchment paper to prevent sticking.
- They freeze well for up to three months; freeze in a single layer on a sheet, then transfer to a freezer-safe container and thaw in the refrigerator when ready to serve.
- Each bite is roughly 120 calories with about 18 grams of carbohydrates, making them a small but satisfying sweet portion.
- Heat-treating the dry cake mix is essential for food safety and does not alter flavor when done correctly.
- Coating cracks can occur if the interior is too cold or expands after refrigeration; allow uncoated balls to rest overnight for best coating results.
One of my favorite things about making these is how ritualized the process becomes: cooling the mix, rolling perfectly round balls, and the satisfying tap when excess chocolate falls away. My siblings commented that the center tastes like a miniature cheesecake married to a chocolate cupcake. The bites are small enough to enjoy without guilt and elegant enough to place on a dessert tray for guests.
Storage Tips
Store finished bites in a single layer or layered with parchment in an airtight container in the refrigerator for up to seven days. For longer storage, freeze on a lined baking sheet until firm, then transfer to a freezer-safe container with parchment between layers to prevent sticking; freeze for up to three months. To serve from frozen, move portions to the refrigerator for several hours or overnight to thaw slowly and avoid condensation on the coating. Avoid leaving at room temperature for more than two hours to preserve texture and safety.
Ingredient Substitutions
If you prefer a slightly less sweet profile, swap the chocolate almond bark for 8 ounces of high-quality dark chocolate chips melted with 1 teaspoon of neutral oil to smooth texture. For a nut-free option, choose a nut-free melting wafer or compound chocolate labeled allergen-free. To make them gluten-free, use a certified gluten-free chocolate cake mix as the base. For lower sugar, use reduced-sugar cake mix and an unsweetened or low-sugar coating, keeping in mind the texture and sweetness will change.
Serving Suggestions
Arrange on a small platter lined with doilies or in mini paper liners for a polished presentation. Serve alongside espresso, strong brewed coffee, or a sweet dessert wine like port for contrast. Garnish with flaky sea salt instead of sprinkles for an elegant finish, or dust a few with cocoa powder for a rustic look. These are perfect as finger food for cocktail parties, boxed gifts for neighbors, or a small finish to a cozy dinner.
Cultural Background
Bite-sized confections combining cream cheese with cake or cookie crumbs trace back to American no-bake truffle traditions and modern adaptations of refrigerator cheesecakes. Similar treats exist in potluck culture where simplicity and portability are prized. The addition of a chocolate shell echoes classic European bonbon techniques while remaining rooted in accessible American home baking, where boxed mixes and pantry staples are frequently elevated into shareable desserts.
Seasonal Adaptations
For the holidays, stir a pinch of ground cinnamon and orange zest into the center for a festive note or use red and green sprinkles. In warmer months, swap the almond bark for a thinner dark chocolate coating and chill less to keep the center slightly softer. For spring gatherings, pipe a tiny dot of fruit curd on top before the coating sets as a bright accent. These small swaps allow the bites to feel seasonal without changing the core technique.
Meal Prep Tips
Prepare the centers up to two days ahead and store them chilled, then dip and decorate on the day of serving for the freshest shell. To save time, melt the coating in a double boiler if you are coating large batches and keep it warm at a low setting, stirring occasionally. Use a scoop to maintain consistent sizing; label containers with dates when freezing and rotate older batches forward to ensure freshness.
These chocolate cheesecake truffles are a tiny luxury you can make with minimal fuss and maximum impact. They reward attention to detail—softening the cream cheese, cooling the mix, and gentle tapping of excess chocolate—and they reward your guests with perfectly balanced chocolate and tang in every bite. Make a batch, share with friends, or keep them close as your secret stash.
Pro Tips
Bring cream cheese to room temperature for at least 30 minutes to prevent lumps and ensure smooth mixing.
Chill the formed balls for at least 2 hours so they hold their shape while coating and to reduce coating cracks.
Tap the fork gently to remove excess coating; use a toothpick to lift and a second toothpick to cleanly release onto parchment.
This nourishing chocolate cheesecake truffles recipe is sure to be a staple in your kitchen. Enjoy every moist, high protein slice — it is perfect for breakfast or as a wholesome snack any time.
FAQs about Recipes
Can I freeze the truffles?
Yes. For best results thaw overnight in the refrigerator to avoid condensation on the coating.
How do I avoid lumps in the center?
Make sure cream cheese is fully softened to room temperature and that the heat-treated cake mix is completely cooled before combining.
Tags
Recipe data validation failed
Please check the recipe data format. See console for details.
Categories:
You might also like...

Cheesy Zucchini Rollatini Bake
Tender grilled zucchini wraps basil ricotta, bathed in marinara and mozzarella, baking into a bubbly, lighter Italian comfort dinner ready in 30 minutes.

Air Fryer Zucchini and Squash
Crisp-edged, tender-in-the-middle zucchini and yellow squash made in 15 minutes with pantry spices. A vibrant, veggie-forward side everyone devours.

Chicken Meatball Parmesan
Tender chicken meatballs simmered in rich marinara and blanketed with melty mozzarella, bringing all the flavors of chicken parm in cozy, bite-sized form.
Did You Make This?
Leave a comment & rating below or tag @yummique on social media!
Rate This Recipe
Share This Recipe
Enjoyed this recipe? Share it with friends and family, and don't forget to leave a review!
Comments (1)
This recipe looks amazing! Can't wait to try it.
Comments are stored locally in your browser. Server comments are displayed alongside your local comments.

Hi, I'm Amira!
What's Popular

30-Minute Meals!
Join to receive our email series which contains a round-up of some of our quick and easy family favorite recipes.